Hey all! To keep up with my latest projects, come follow along with me on Instagram and Pinterest.
I have had a big blank wall above my couch for some time now, so I decided to fix that. I wanted a wall art piece that still served a function. I came up with a decorative mirror. I love decorating with mirrors and this one has some personality.
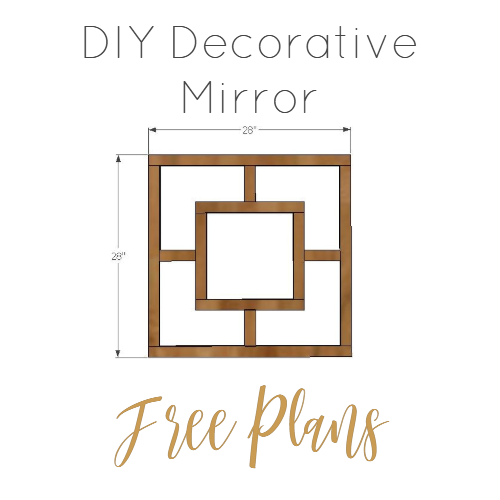
I have included a PDF plan so you can make your own. Just click on the picture to print out a copy for yourself. As always, I am including a step by step of how I built my DIY decorative mirror.
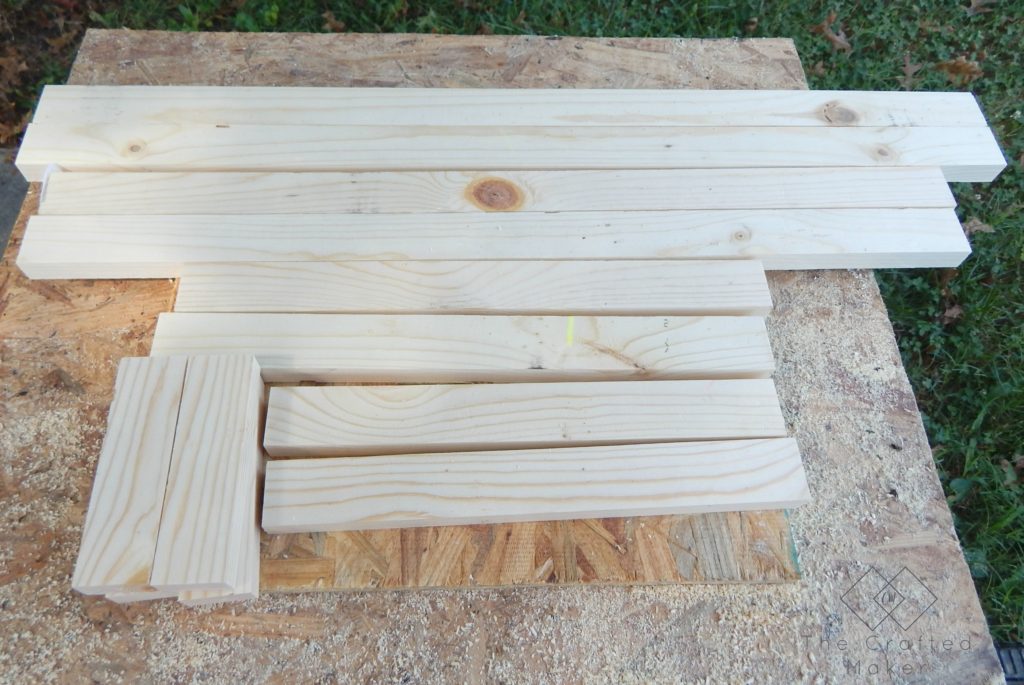
First things first, I cut all of my boards according to the cut list.
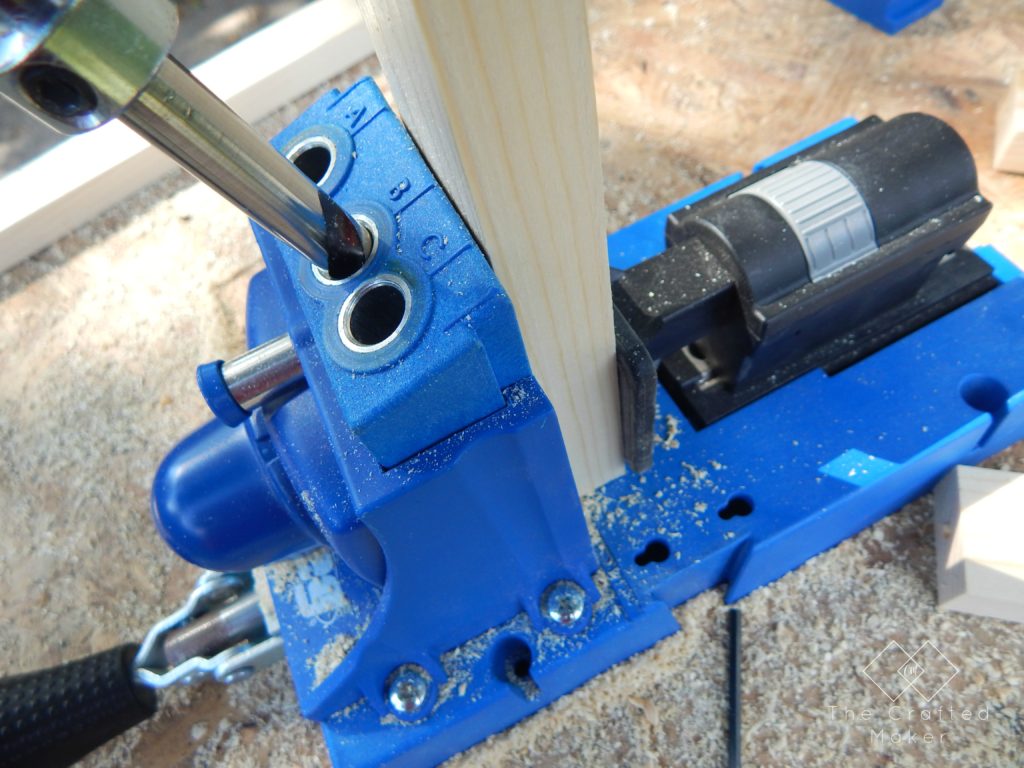
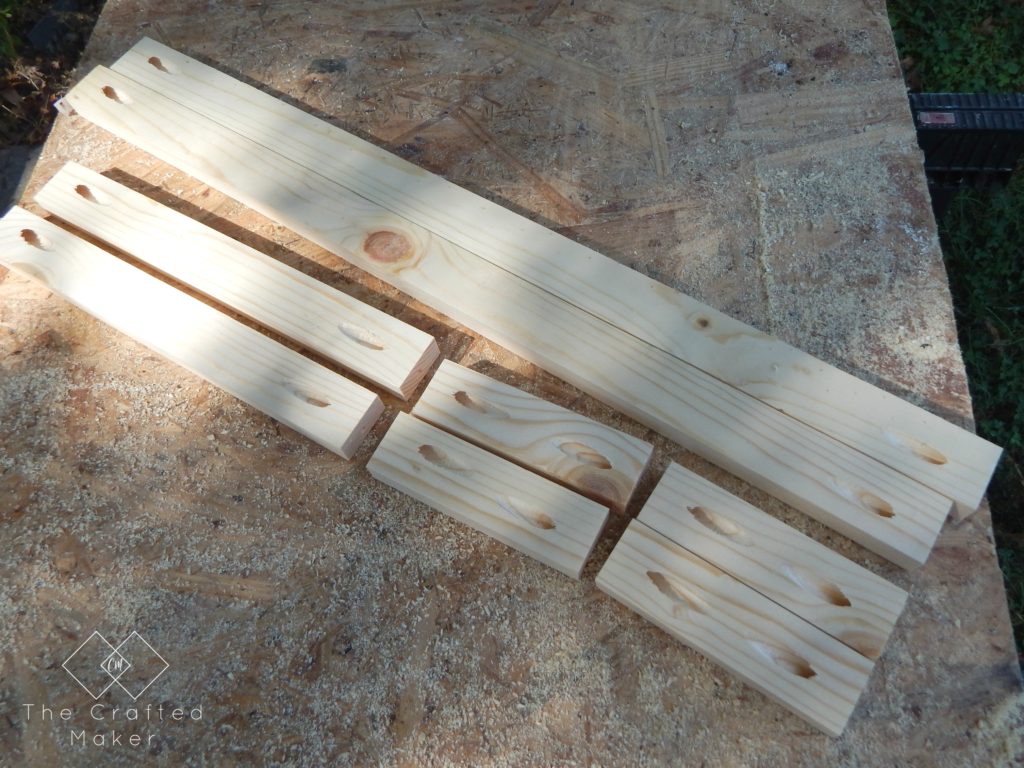
I then drilled the pocket holes in my 25″, 12″, and 5″ boards.
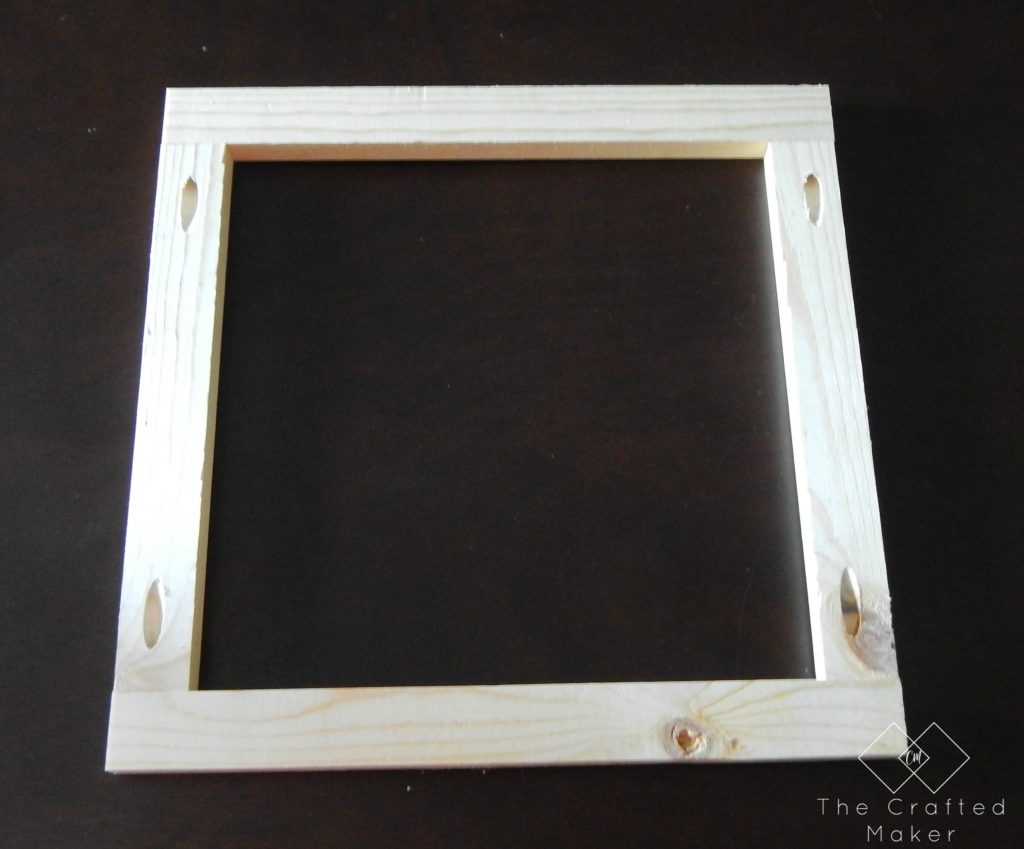
Now its time for assembly. This mirror is made up of an inner frame and an outer frame. I assembled the inner frame first. It was pretty easy. Just four pocket hole screws and it’s done!!
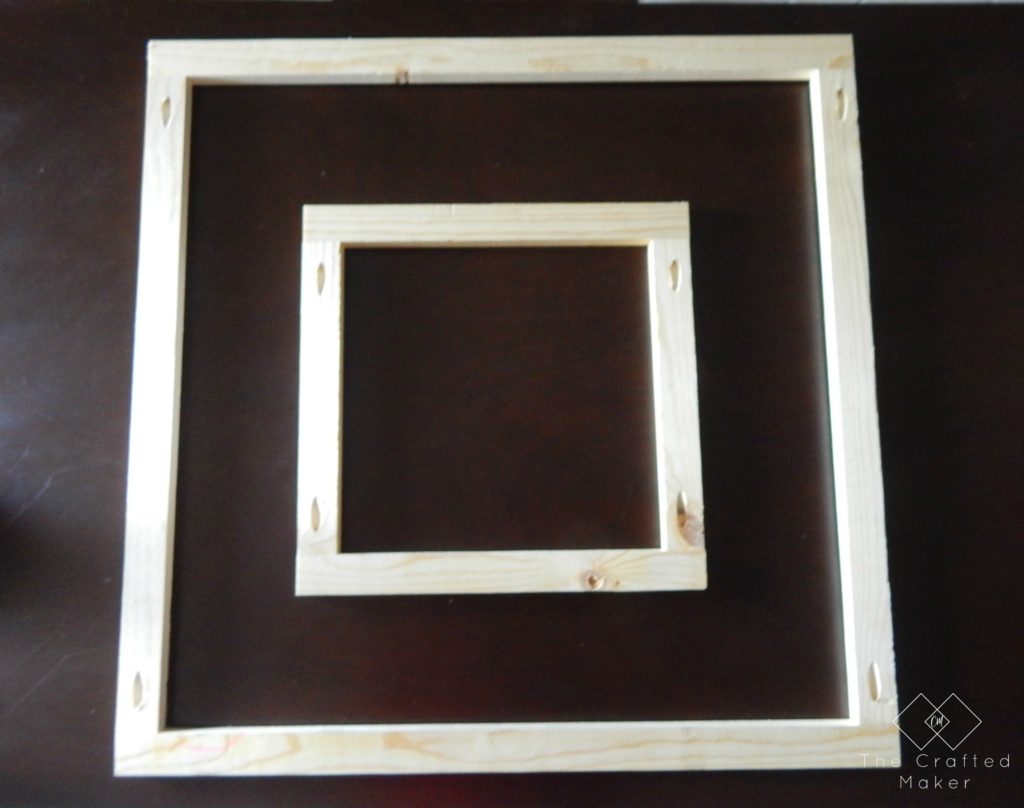
Then I assembled the outer frame.
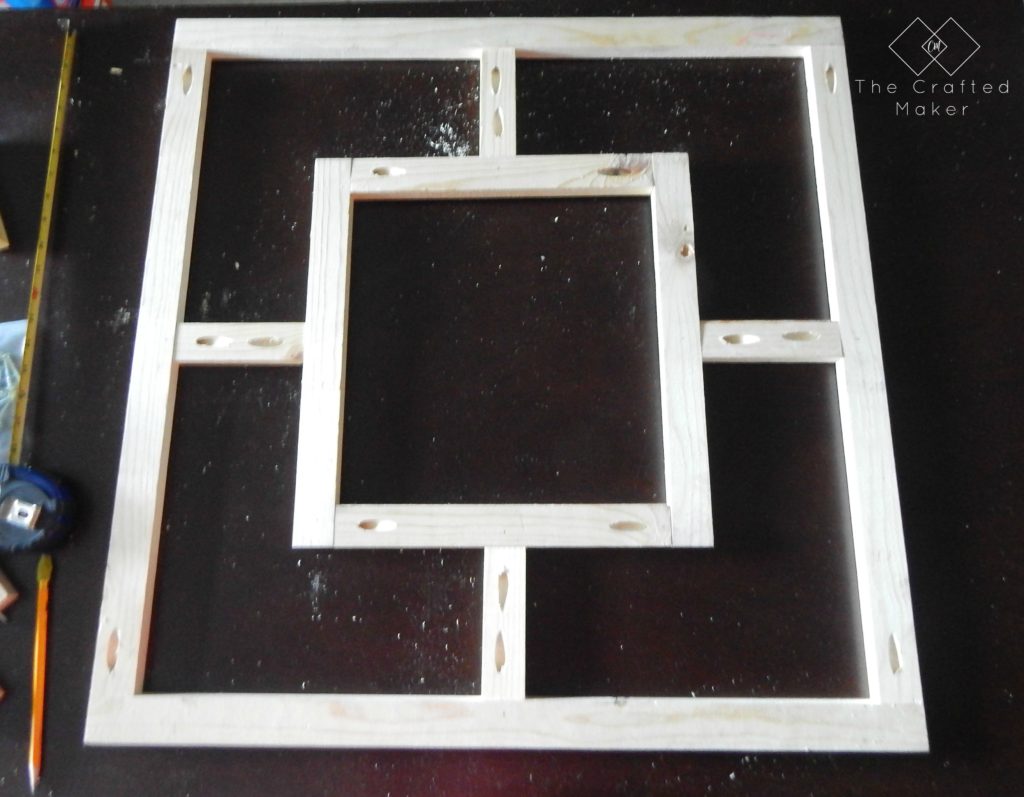
The inner and outer frames are held together by four 5″ pieces. I lined up each 5″ piece in the middle of each frame and attached with pocket hole screws.
I didn’t want to take a chance on getting paint on my mirror tile, so I sanded and painted the frame before adding the mirror tile.
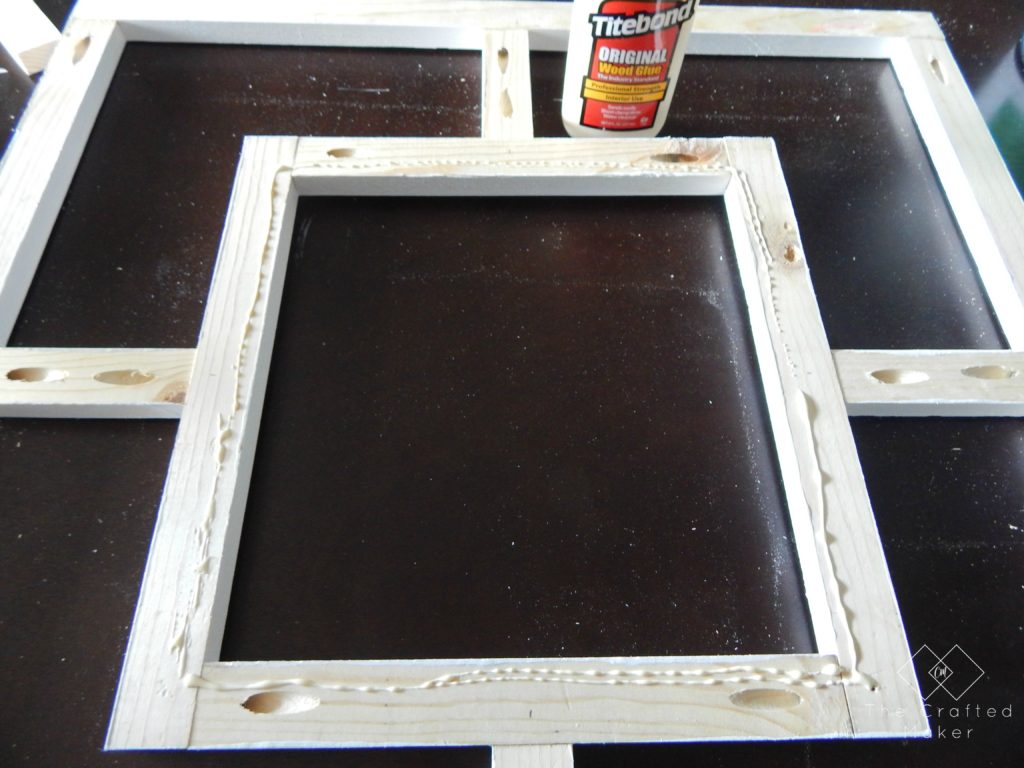
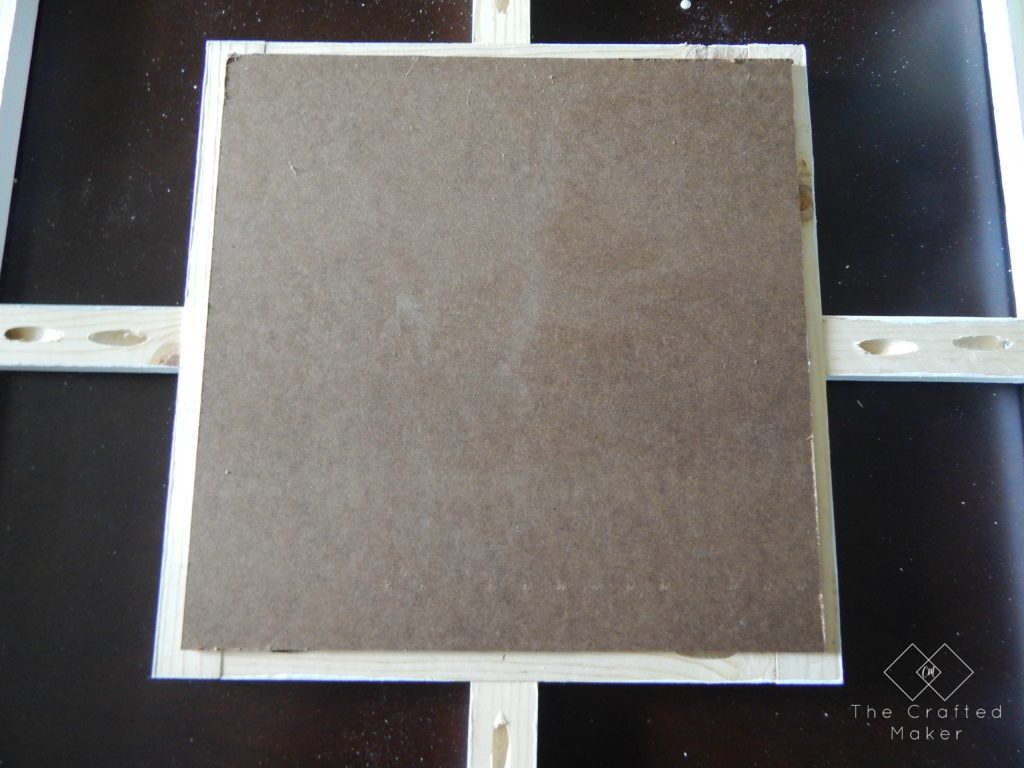
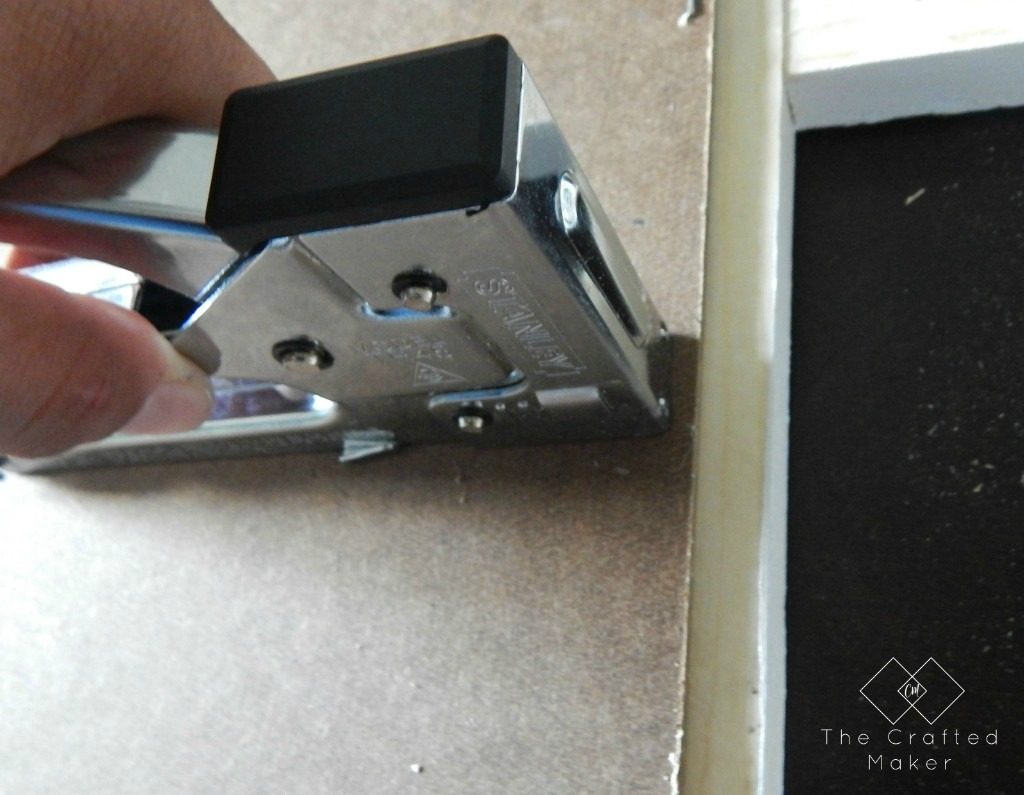
At this point, the frame was completely assembled, painted, and dry. Since the mirror tile needs something to attach to, I stapled a 14″ x 14″ piece of tempered hardboard to the back of the inner frame. I originally wanted to use plywood but realized it would be to thick and show when the mirror is hung. Tempered hardboard can be found near the paneling in most hardware stores. Since this is only getting attached with staples, I used wood glue for extra support.
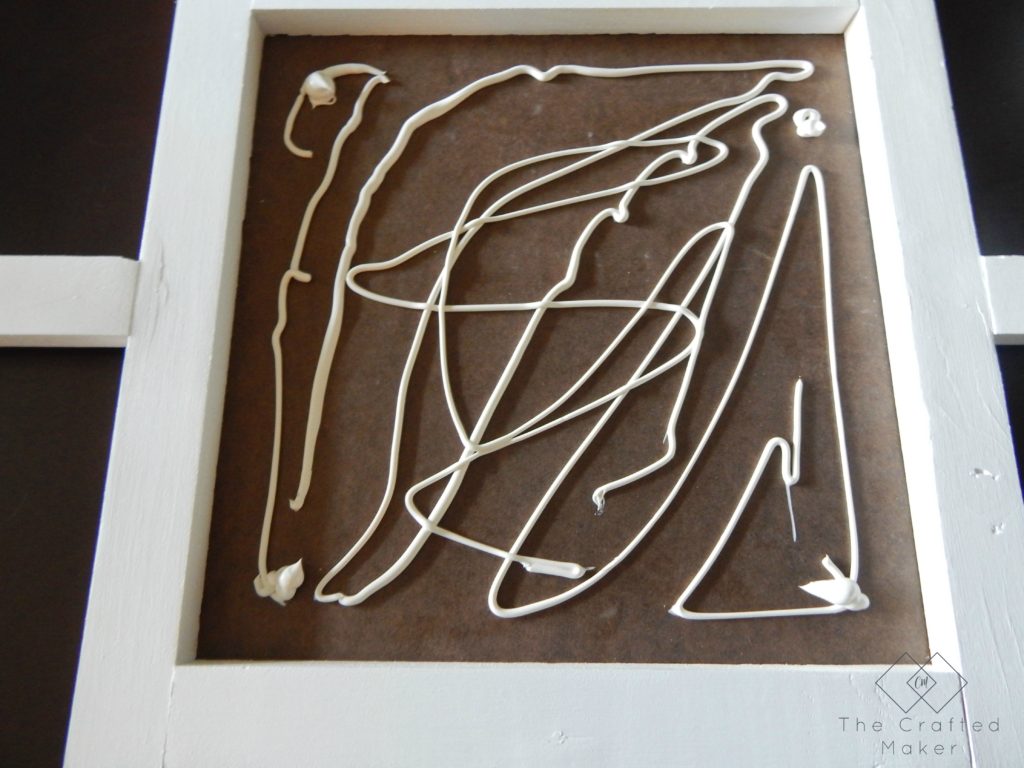
To add the mirror tile, I flipped the frame over and applied mirror mastic to the inside of the tempered hardboard. Don’t overdo it, but put enough so that the mirror will form a good bond.
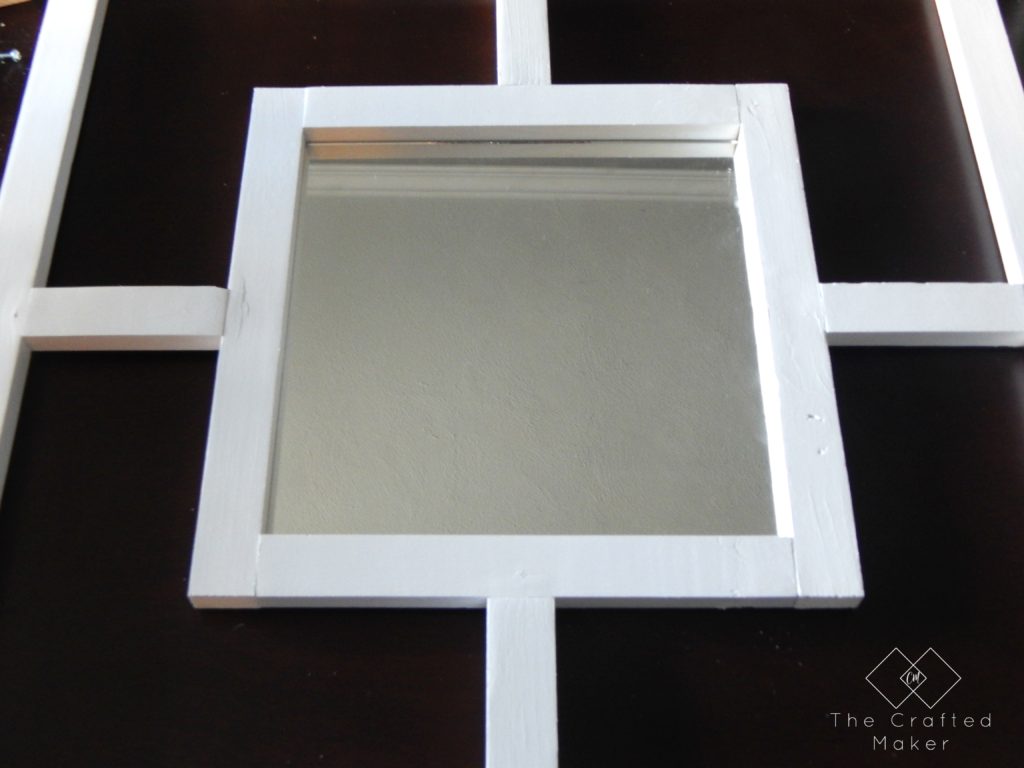
Now it’s as simple as laying the mirror on top of the mastic. Apply slight pressure to the mirror tile to ensure it comes in contact with the mirror mastic.
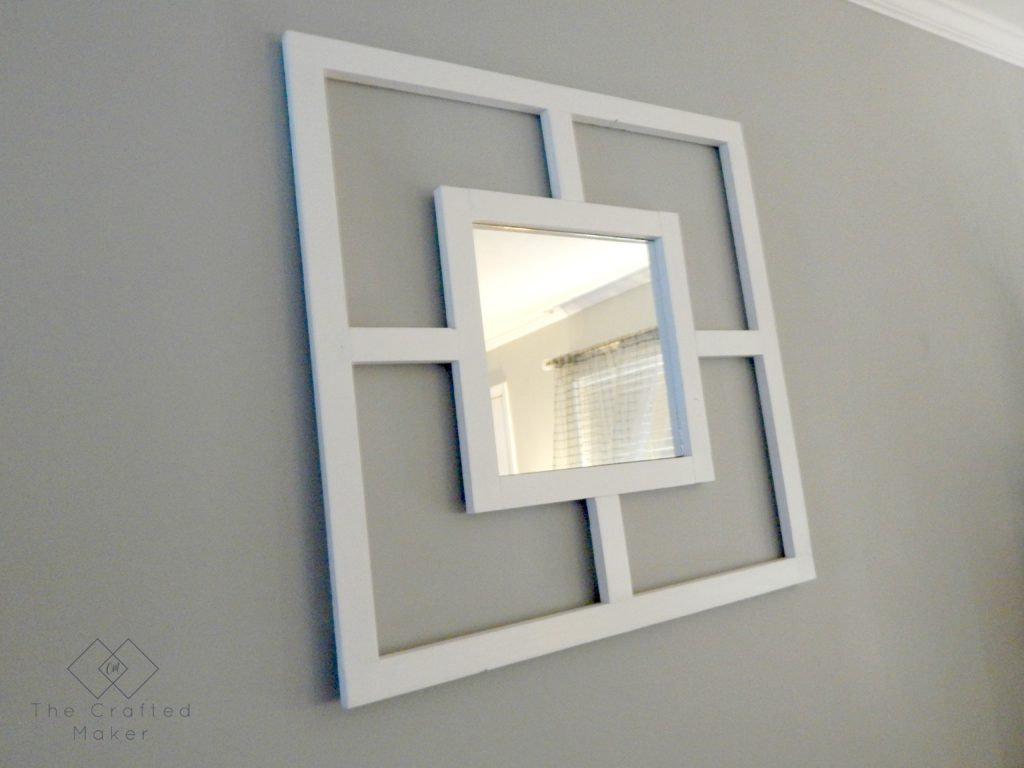
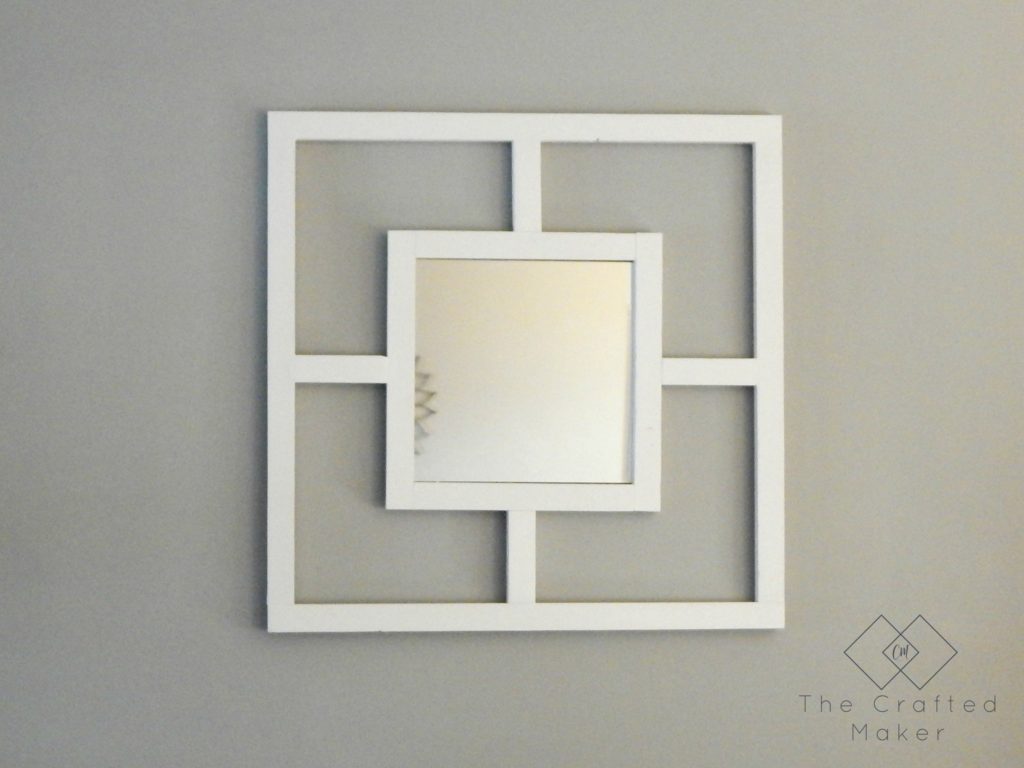
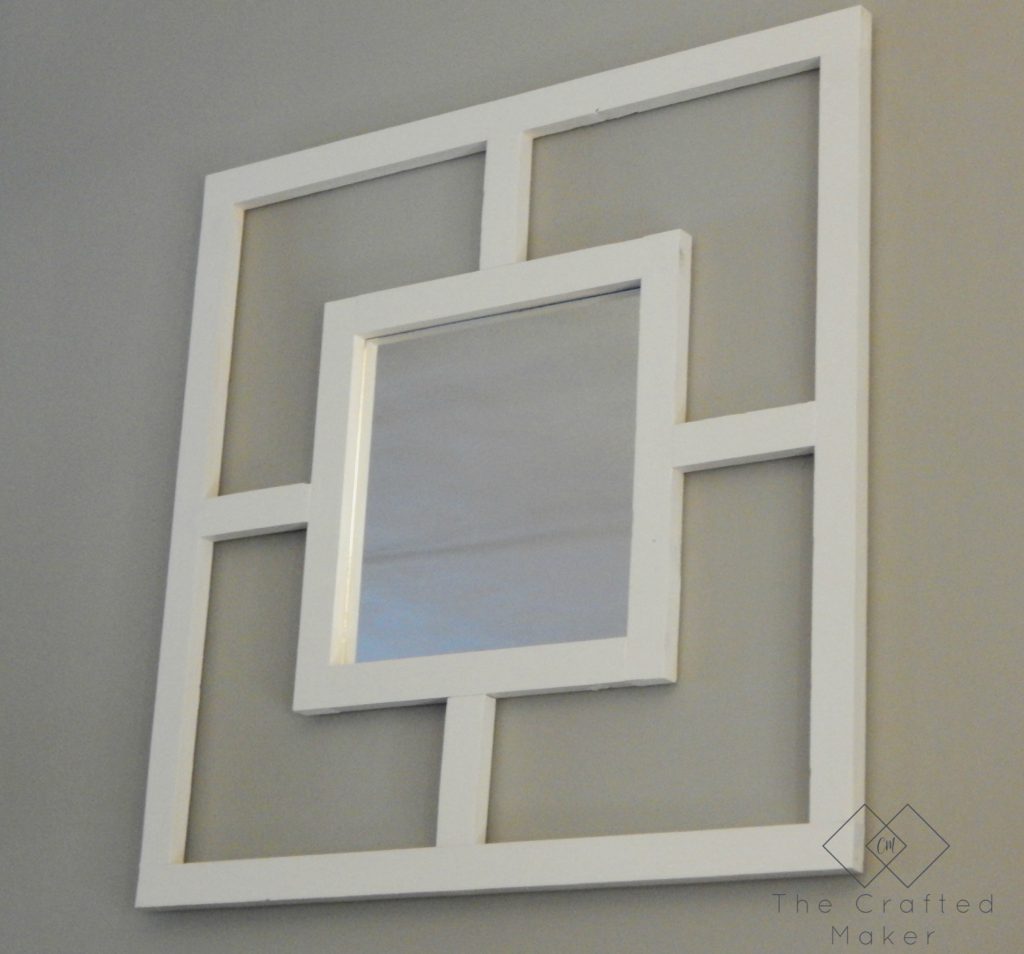
And now it’s done. Easy peasy!! Here are some after pics.
This was a really fun, easy, and inexpensive project and it looks fantastic above my couch!! If you are in the need of some quick décor, give it a try. Thanks for stopping by and spending a little time with me today.
Until next time…
Pinning is always appreciated!!
