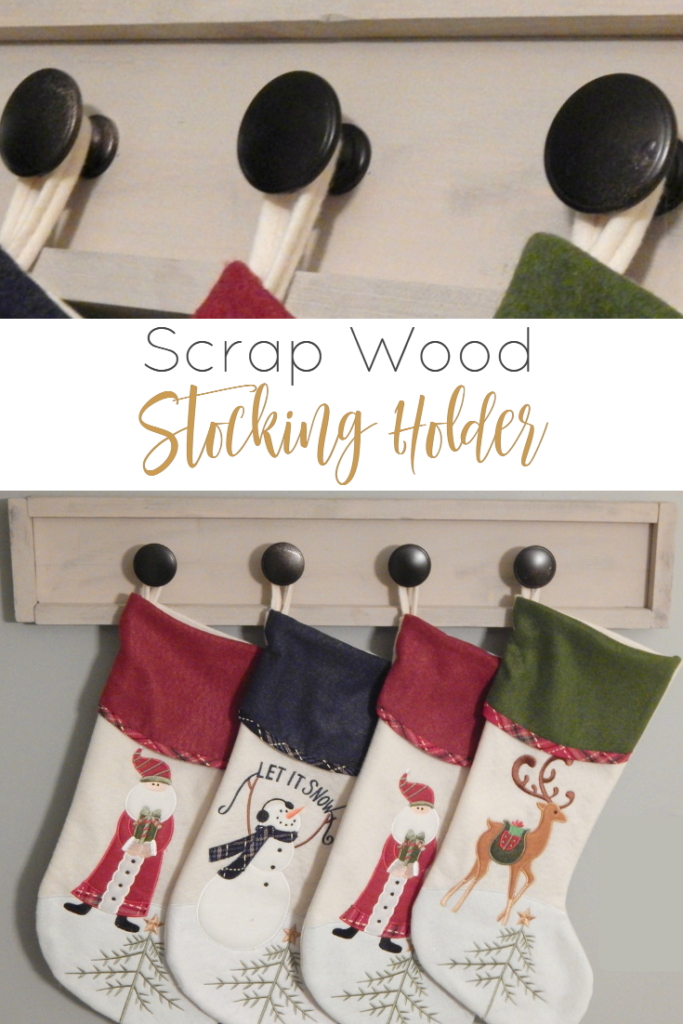
I have always wanted a fireplace with a mantle to hang the stockings from at Christmas, but I don’t have that luxury in my current home (one day!). So I have had to come up with ways of displaying them in the past. Usually, I would buy some cute stocking hangers and lay them on a table, but I figured this year I would try something different. I have been looking at all of the scrap wood just lying around my garage and figured this project would be the perfect use for it. So away I went, planning and rummaging through the different sizes I had. I came up with a plan that would fit my supply perfectly. Try looking at your scrap wood before buying new wood. You just might have all of the pieces you need laying in your garage!
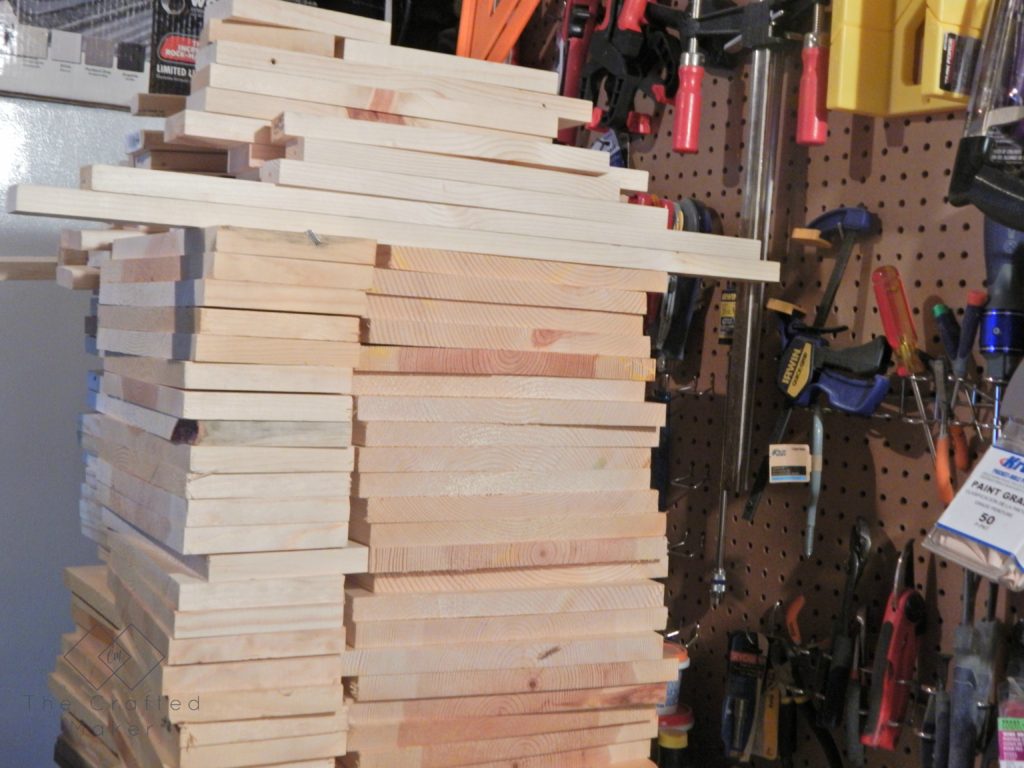
Here is a picture of one of my piles of scrap wood. I think I might have a problem!
.
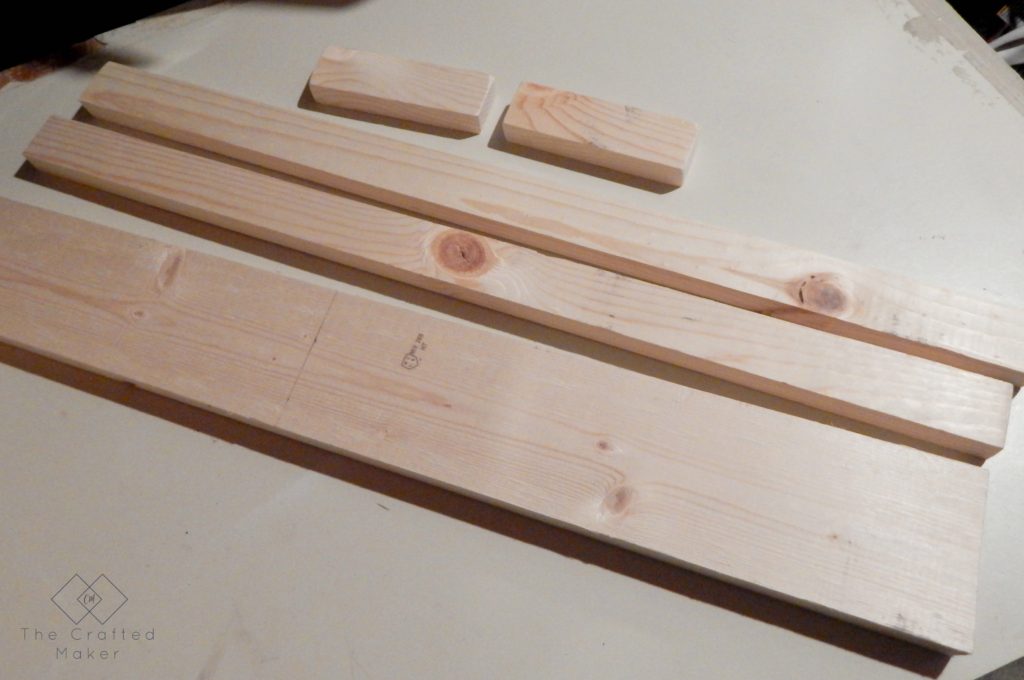
I needed to cut some of my scrap wood down to size, so that’s the first thing I did. Here are the dimensions I used for this project.
-
1 – 1×4 @ 25″
-
2 – 1×2 @ 25″
-
2 – 1×2 @ 5″
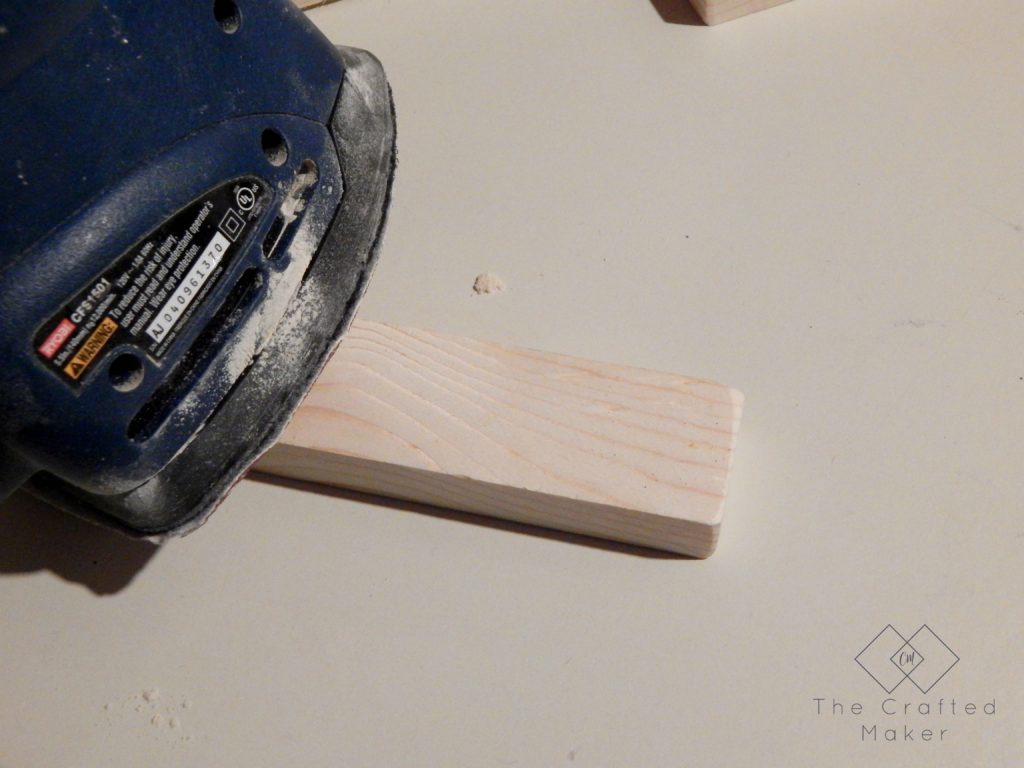
Before assembly, I sanded down the boards to make the project more time efficient. When working with such small dimensional lumber, it’s hard to get the sander in tight corners.
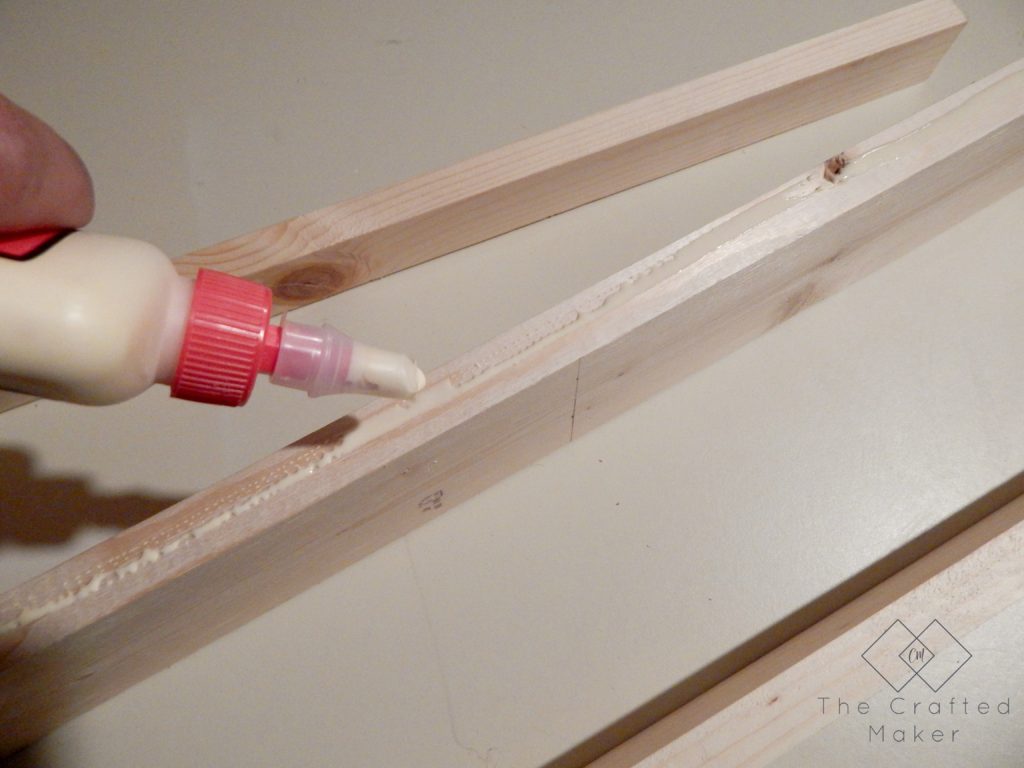
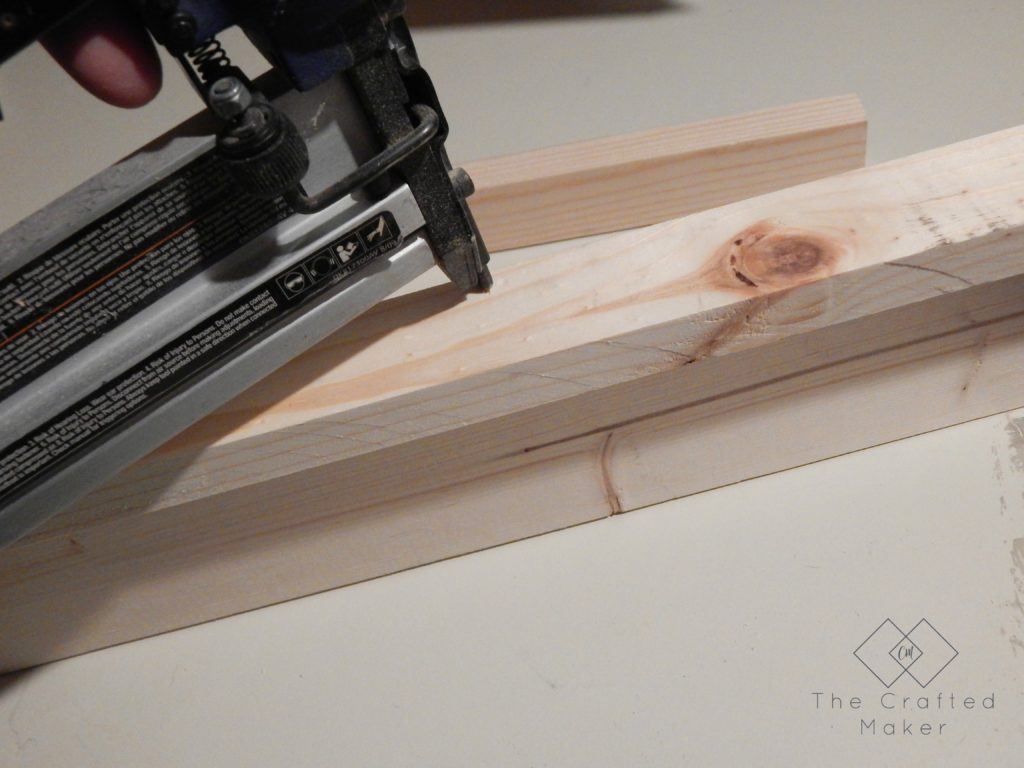
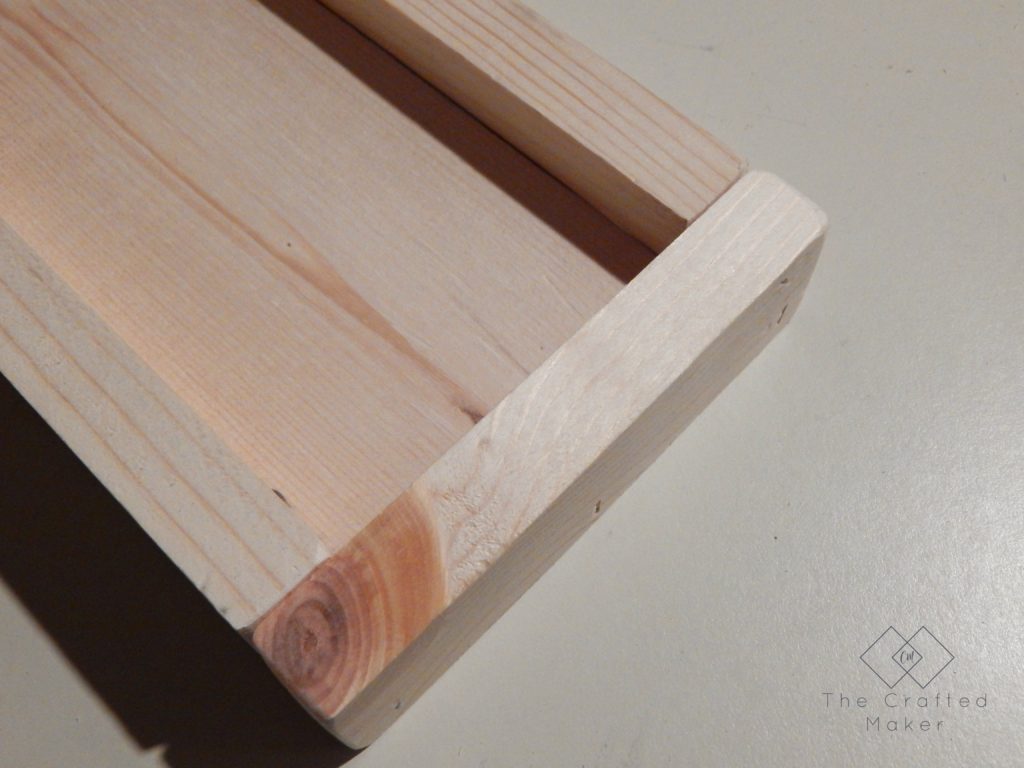
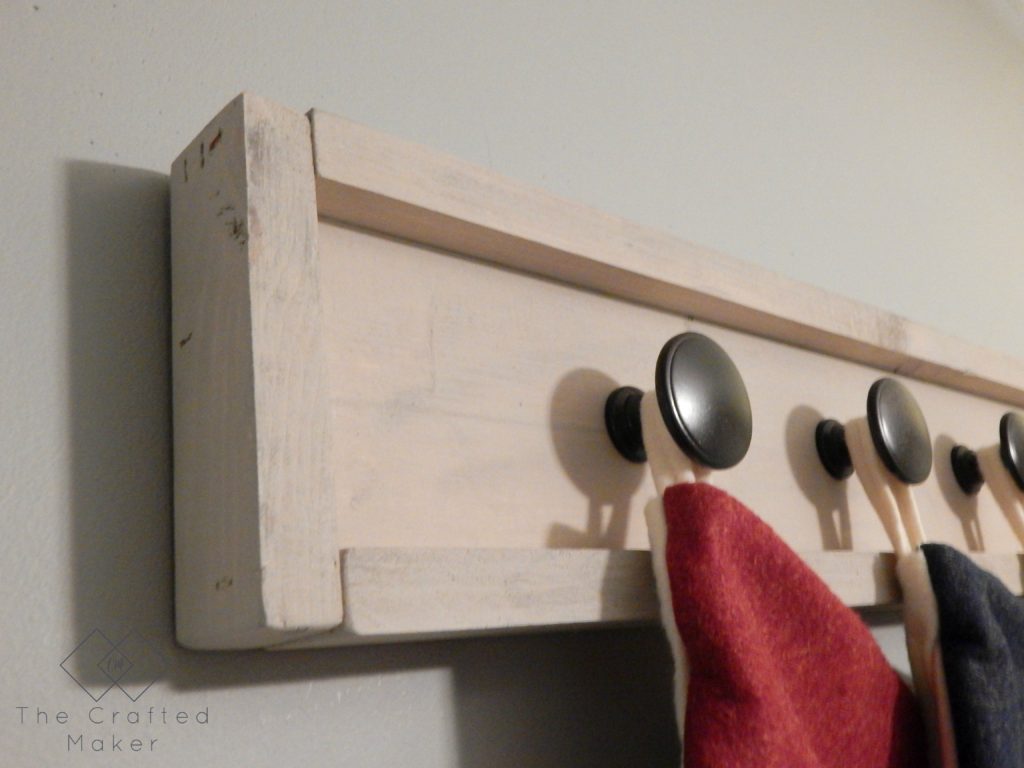
Now on to the frame. I wanted this project to have a finished look, so I attached some 1″x2″ boards around the entire project to make a frame using my nailer and wood glue.
I applied a thin layer of glue to the edge and nailed it in. I started with the top and bottom longer boards, and finished with the side boards of the frame.
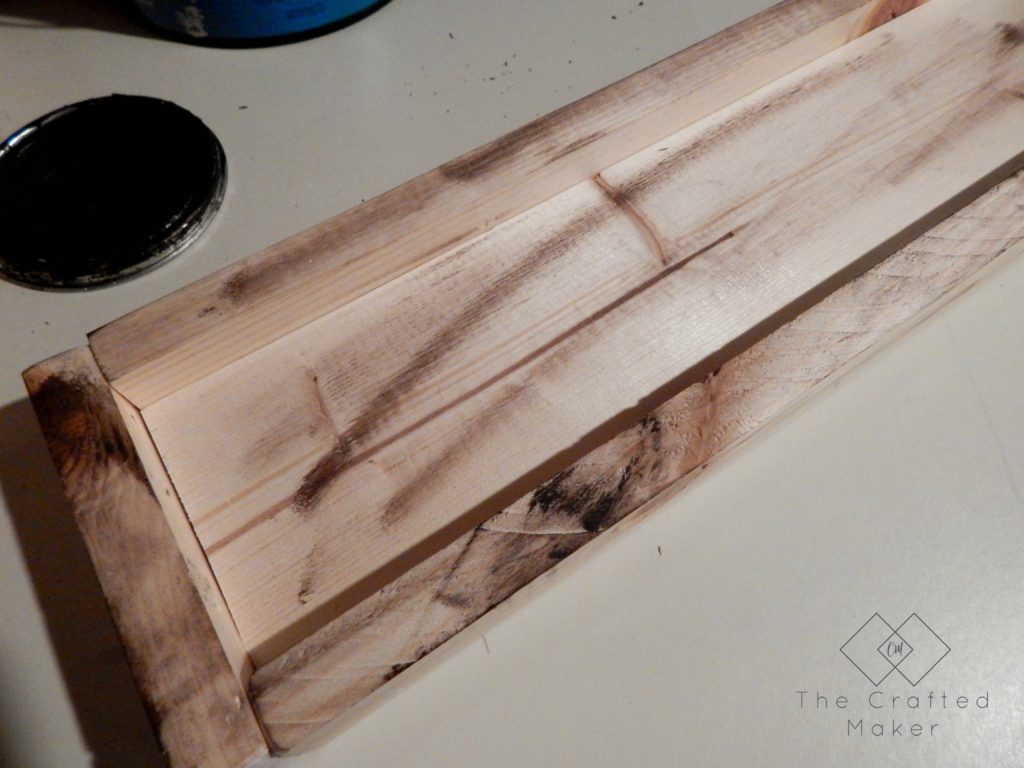
At this point, the building is done. Sand down your entire project again, if needed and give it a coat of paint or stain. I wanted my stocking holder to have a distressed feel, so I applied Kona stain randomly over the project. Once the stain was dry, I painted the entire project with paint.
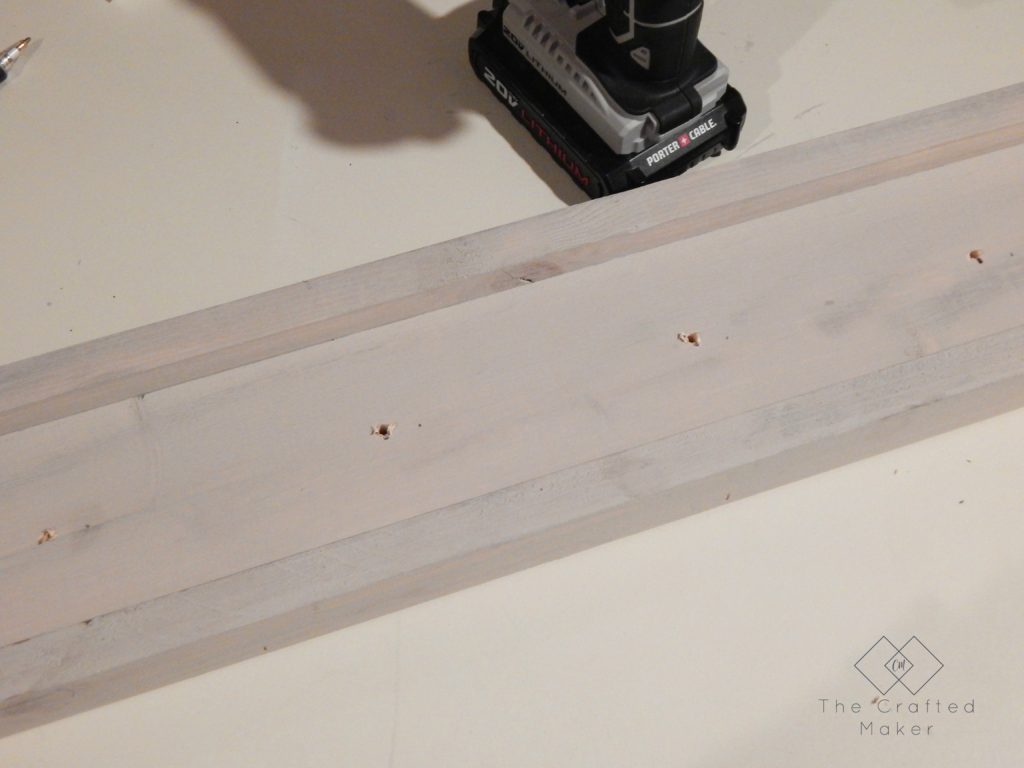
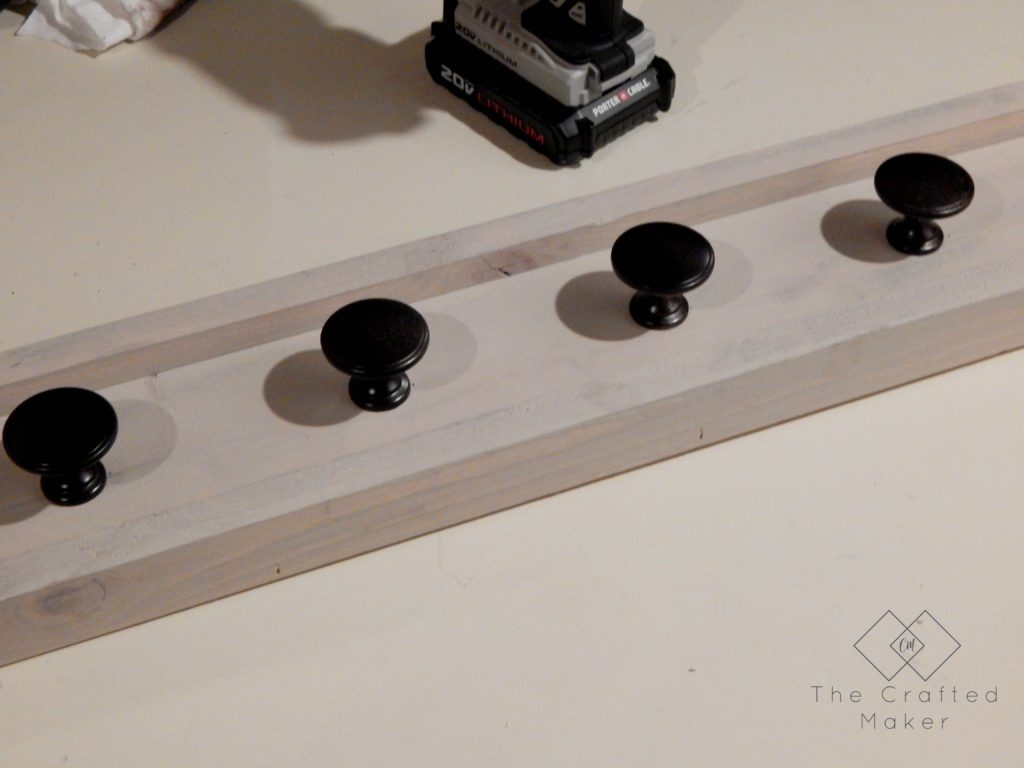
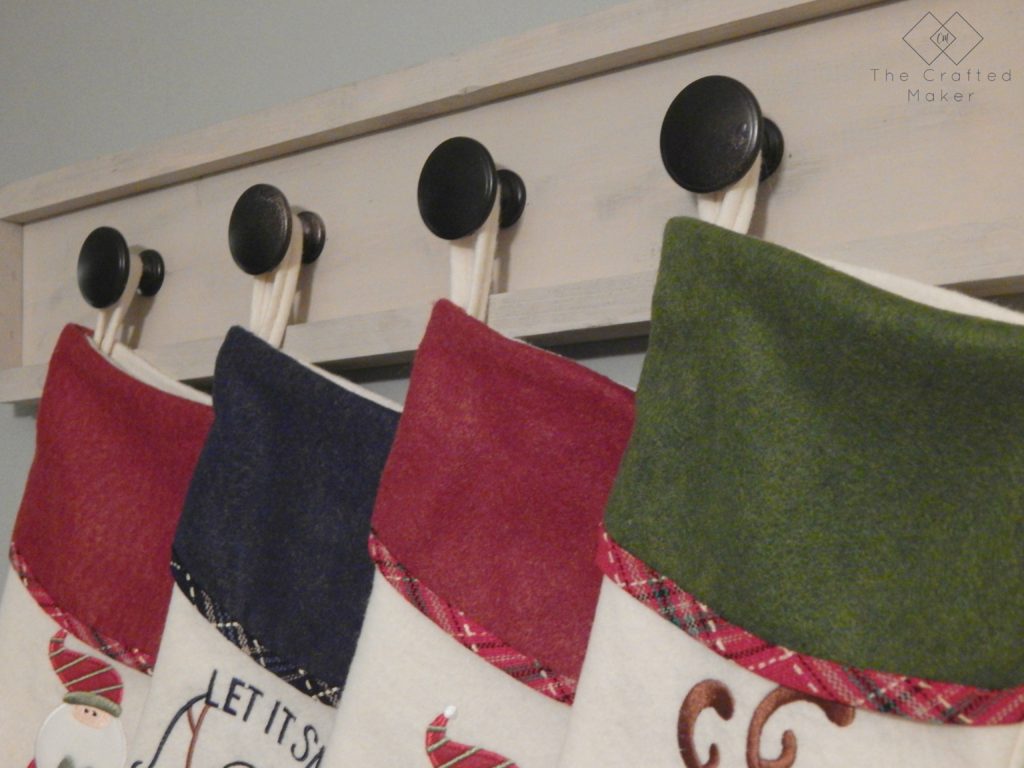
I gave the paint plenty of time to dry before moving on to the next step. Since stockings are going to be hanging, I needed some knobs. I found some leftover cabinet knobs in my hardware toolbox and decided they would work perfectly. Don’t ever throw away extra hardware, you never know what you might use them for in the future! I drilled a hole every five inches on the front of the project and added the knobs from the back of the board.
I attached two picture hangers to the back of the finished stocking holder and my scrap wood stocking holder was complete. When picking out a picture hanger to put on the back, pay attention to the weight it will hold. If you are the type of person who loads up on stocking stuffers (like me) account for that weight when choosing a hanger. Nobody wants to be woken up at night by some renegade stocking falling to the floor!
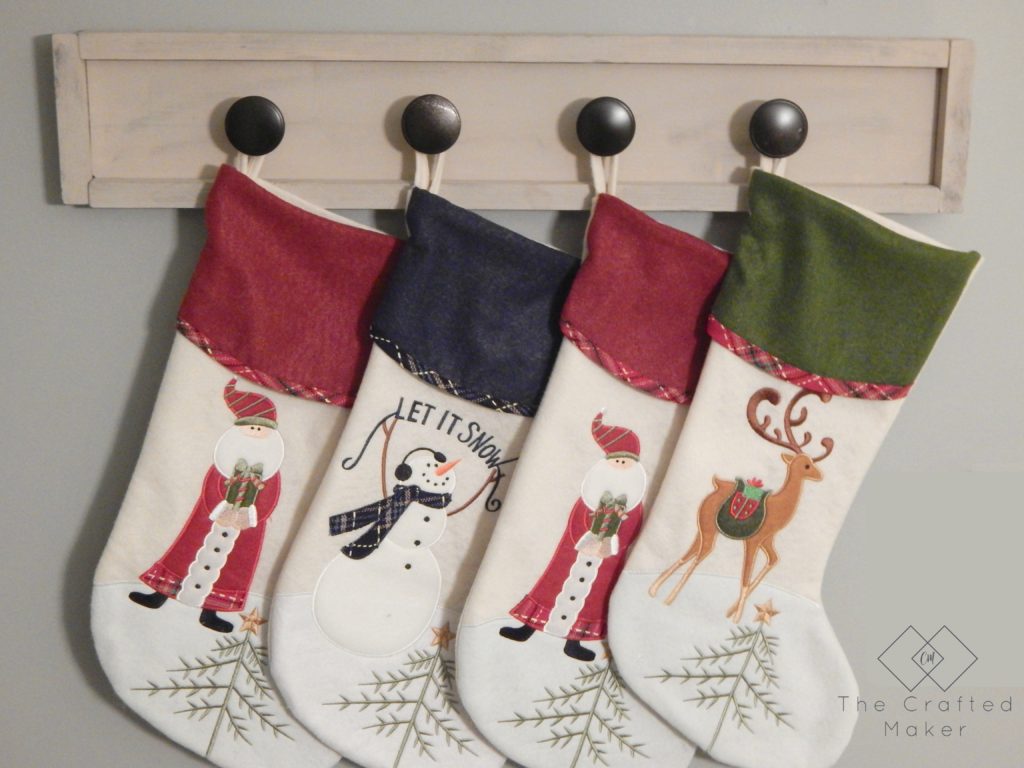
This project was made to hold four stockings. If you need to make a stocking holder that holds more, this project can be easily adjusted to fit your needs.
It’s no mantle with a crackling fireplace underneath, but I do love the way this scrap wood stocking holder looks and it does a great job of displaying my stockings for Christmas morning.
Thanks for stopping by!
