• Home
  • About
  • PROJECTS
    • BUILD
      • FURNITURE
      • SCRAPPY SATURDAY
    • HOW TO
    • ORGANIZATION
    • HOME DECOR
    • TIPS AND TRICKS TUESDAY
    • HOME IMPROVEMENT
      • RENOVATION
    • SEASONAL
  • Resources
    • FAQ
  • Shop
    • Plans
  • Work With Us
  • DIY 101:Make Your House a Home One Project at a Time

The Crafted Maker

Crafting a Maker one project at a time

BUILD, FREE PLANS!, FURNITURE · September 20, 2016

LAUNDRY TABLE (FOLD AND IRON)

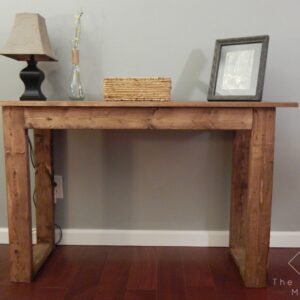
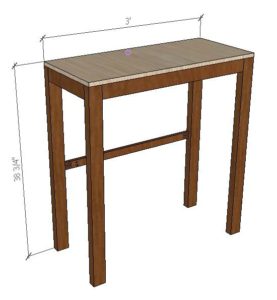
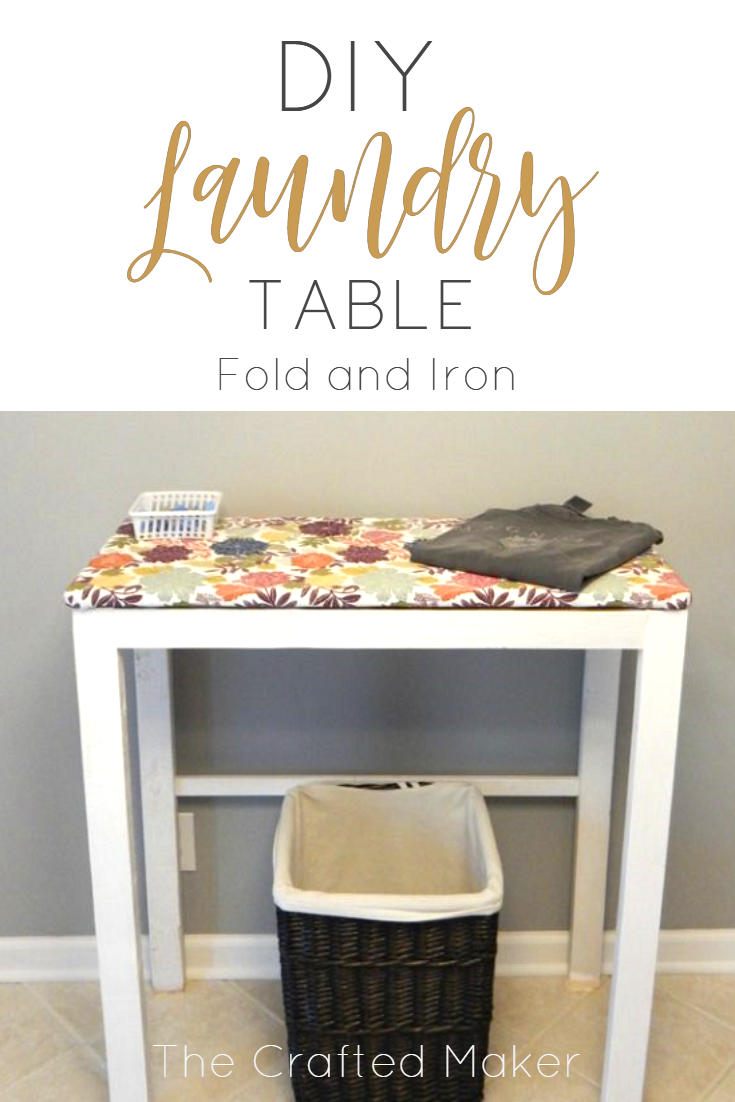
Laundry is a chore not many people enjoy doing so I wanted to make it as fun and convenient as possible. I needed a place to fold my laundry and a place for my ironing board. I know they make hangers for ironing boards, but frankly, I was tired of looking at it. To take care of that problem, I designed a laundry table with enough space to fold laundry with a top you can iron directly on. Win, Win!

There are printable PDF plans for you to make your own. Just click on the picture below to download your copy!

Laundry is a chore many people don't enjoy doing, so why not make it as fun and convenient as possible. How about a colorful place to fold and iron!

*affiliate links used. See disclosure here

Tools
  • Saw to cut boards to length
  • Drill
  • Pocket Hole Jig
  • Sander
  • Stapler
Supplies
  • Pocket Hole Screws
  • Safety Gear (glasses and hearing)
  • Fabric and Backing
  • Tape Measure
  • Pen or Pencil
  • Staples
  • Scissors

There is a detailed cut list and supply list included in the plans.

Building the Base

Cut all of your boards according to the cut list.

Laundry is a chore many people don't enjoy doing, so why not make it as fun and convenient as possible. How about a colorful place to fold and iron!

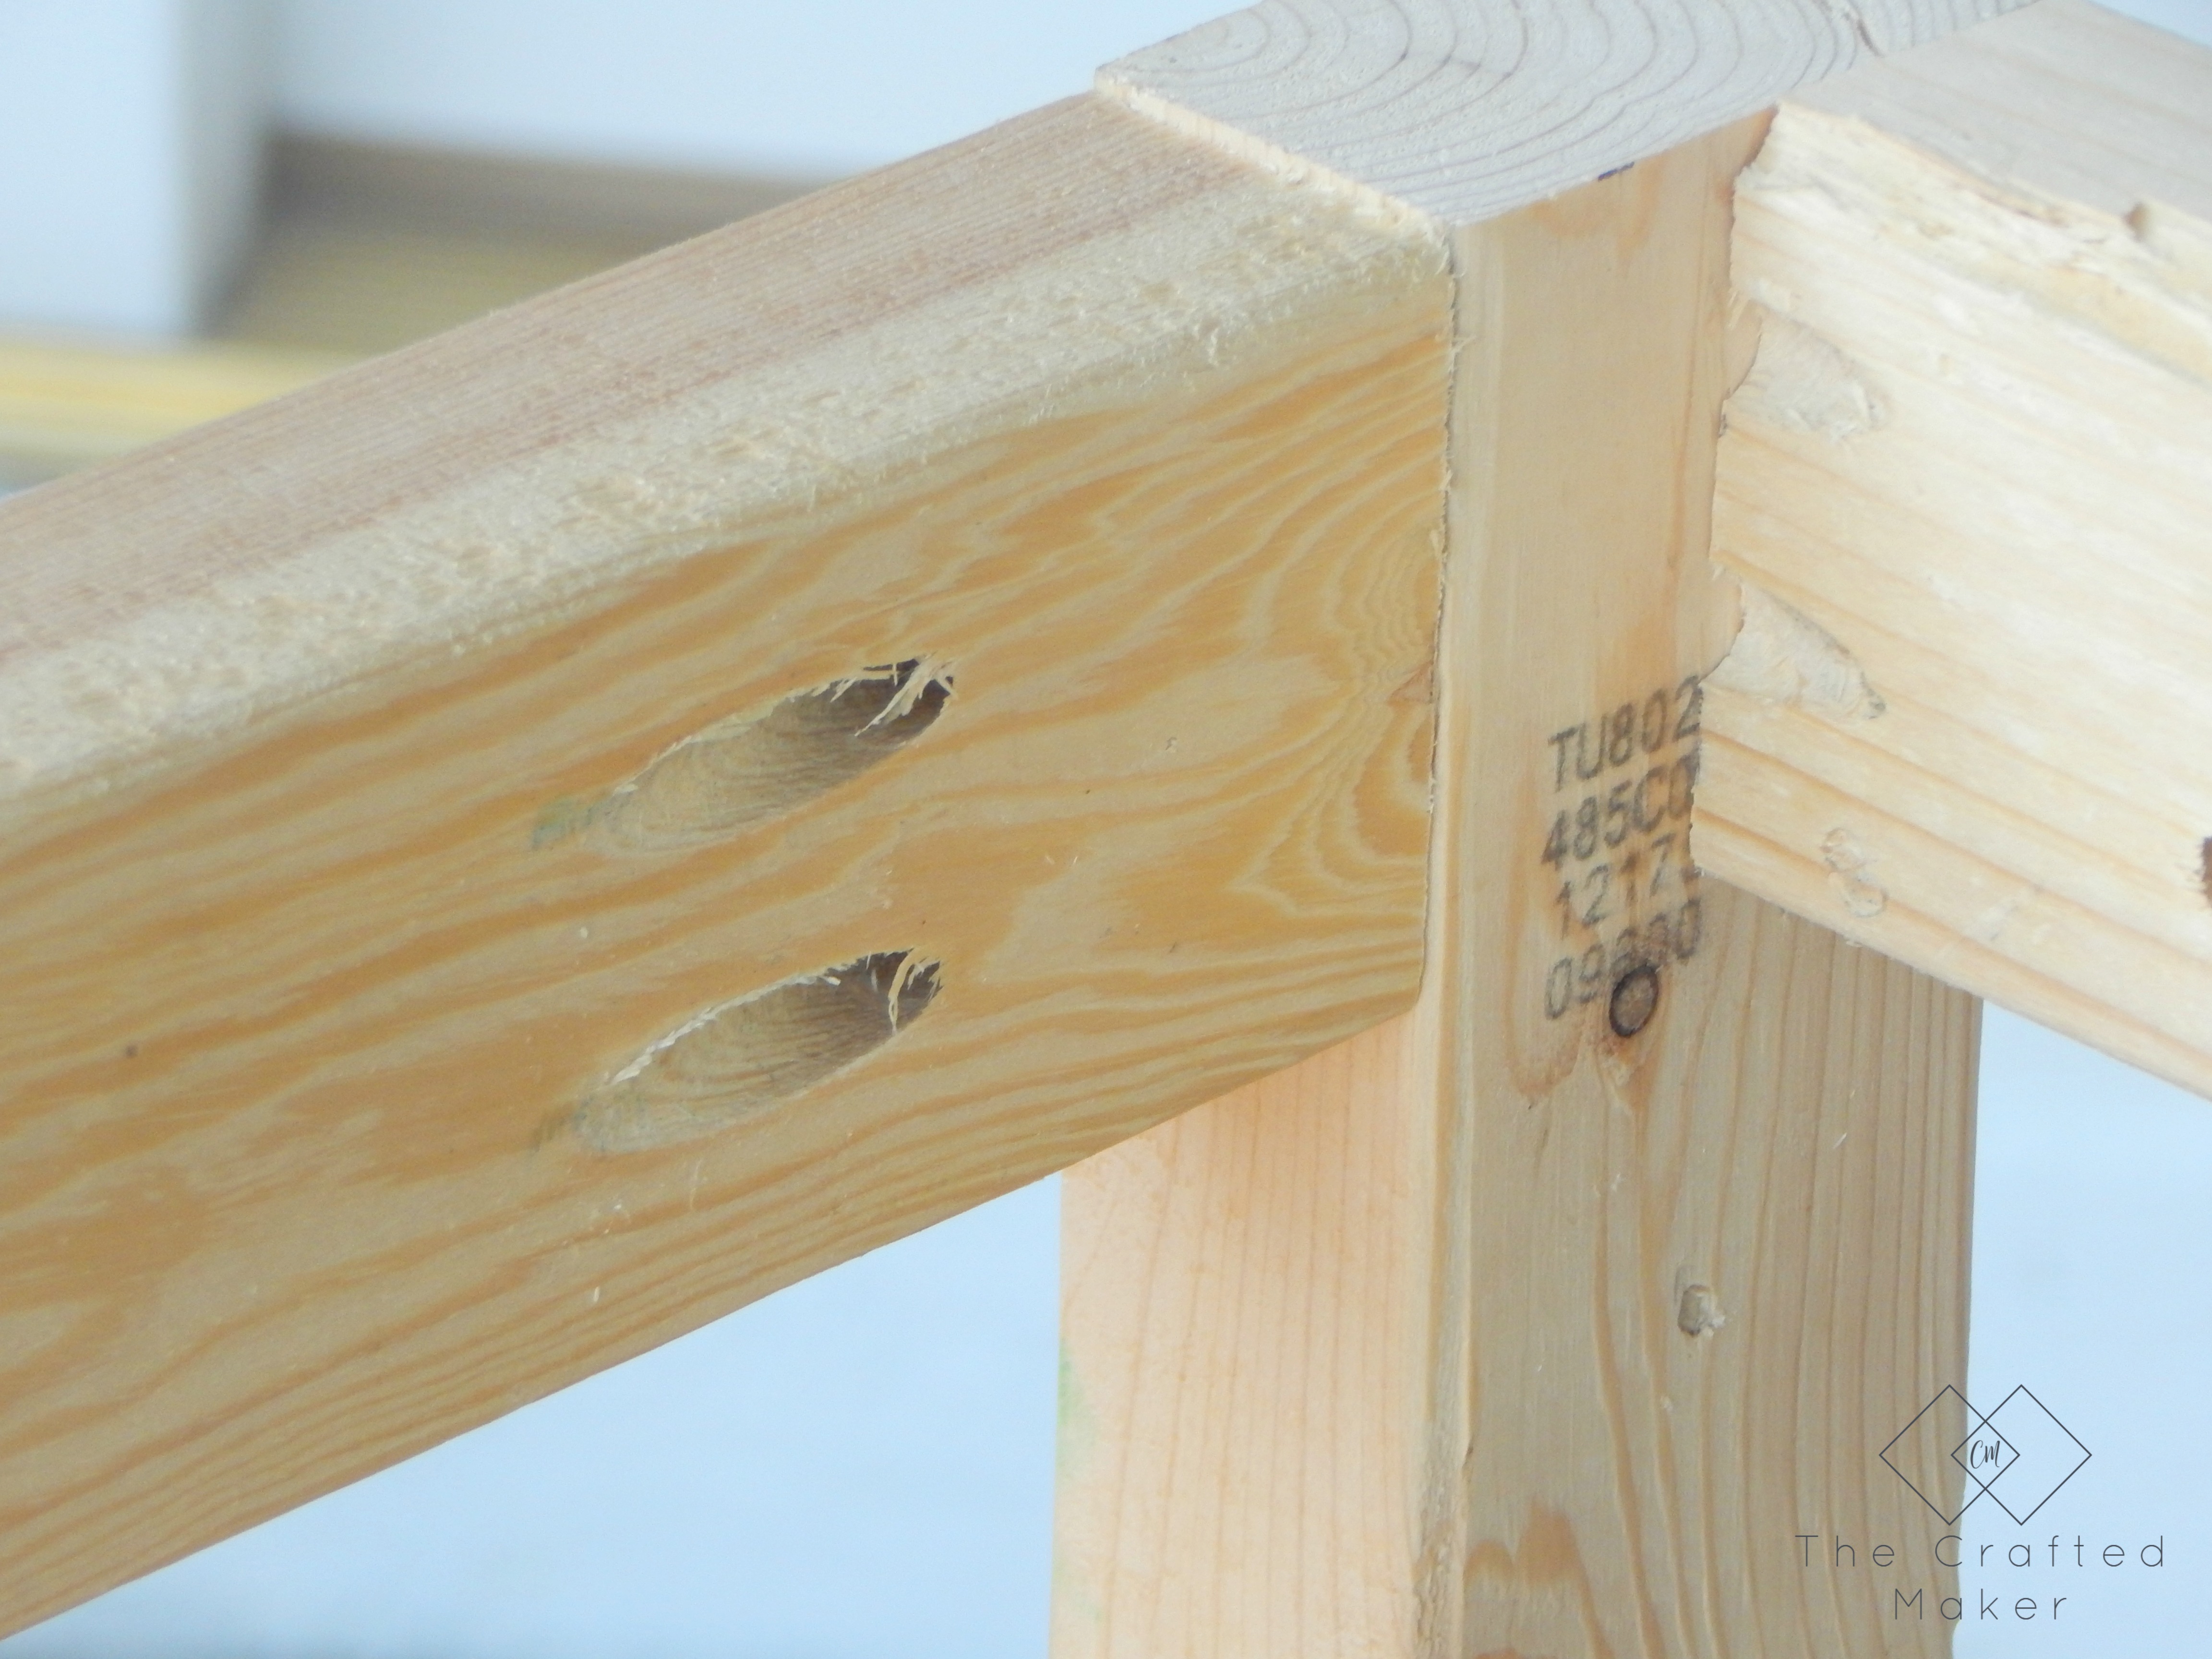
Drill pocket holes according to the pocket hole placement guide in the plans.

Laundry is a chore many people don't enjoy doing, so why not make it as fun and convenient as possible. How about a colorful place to fold and iron!

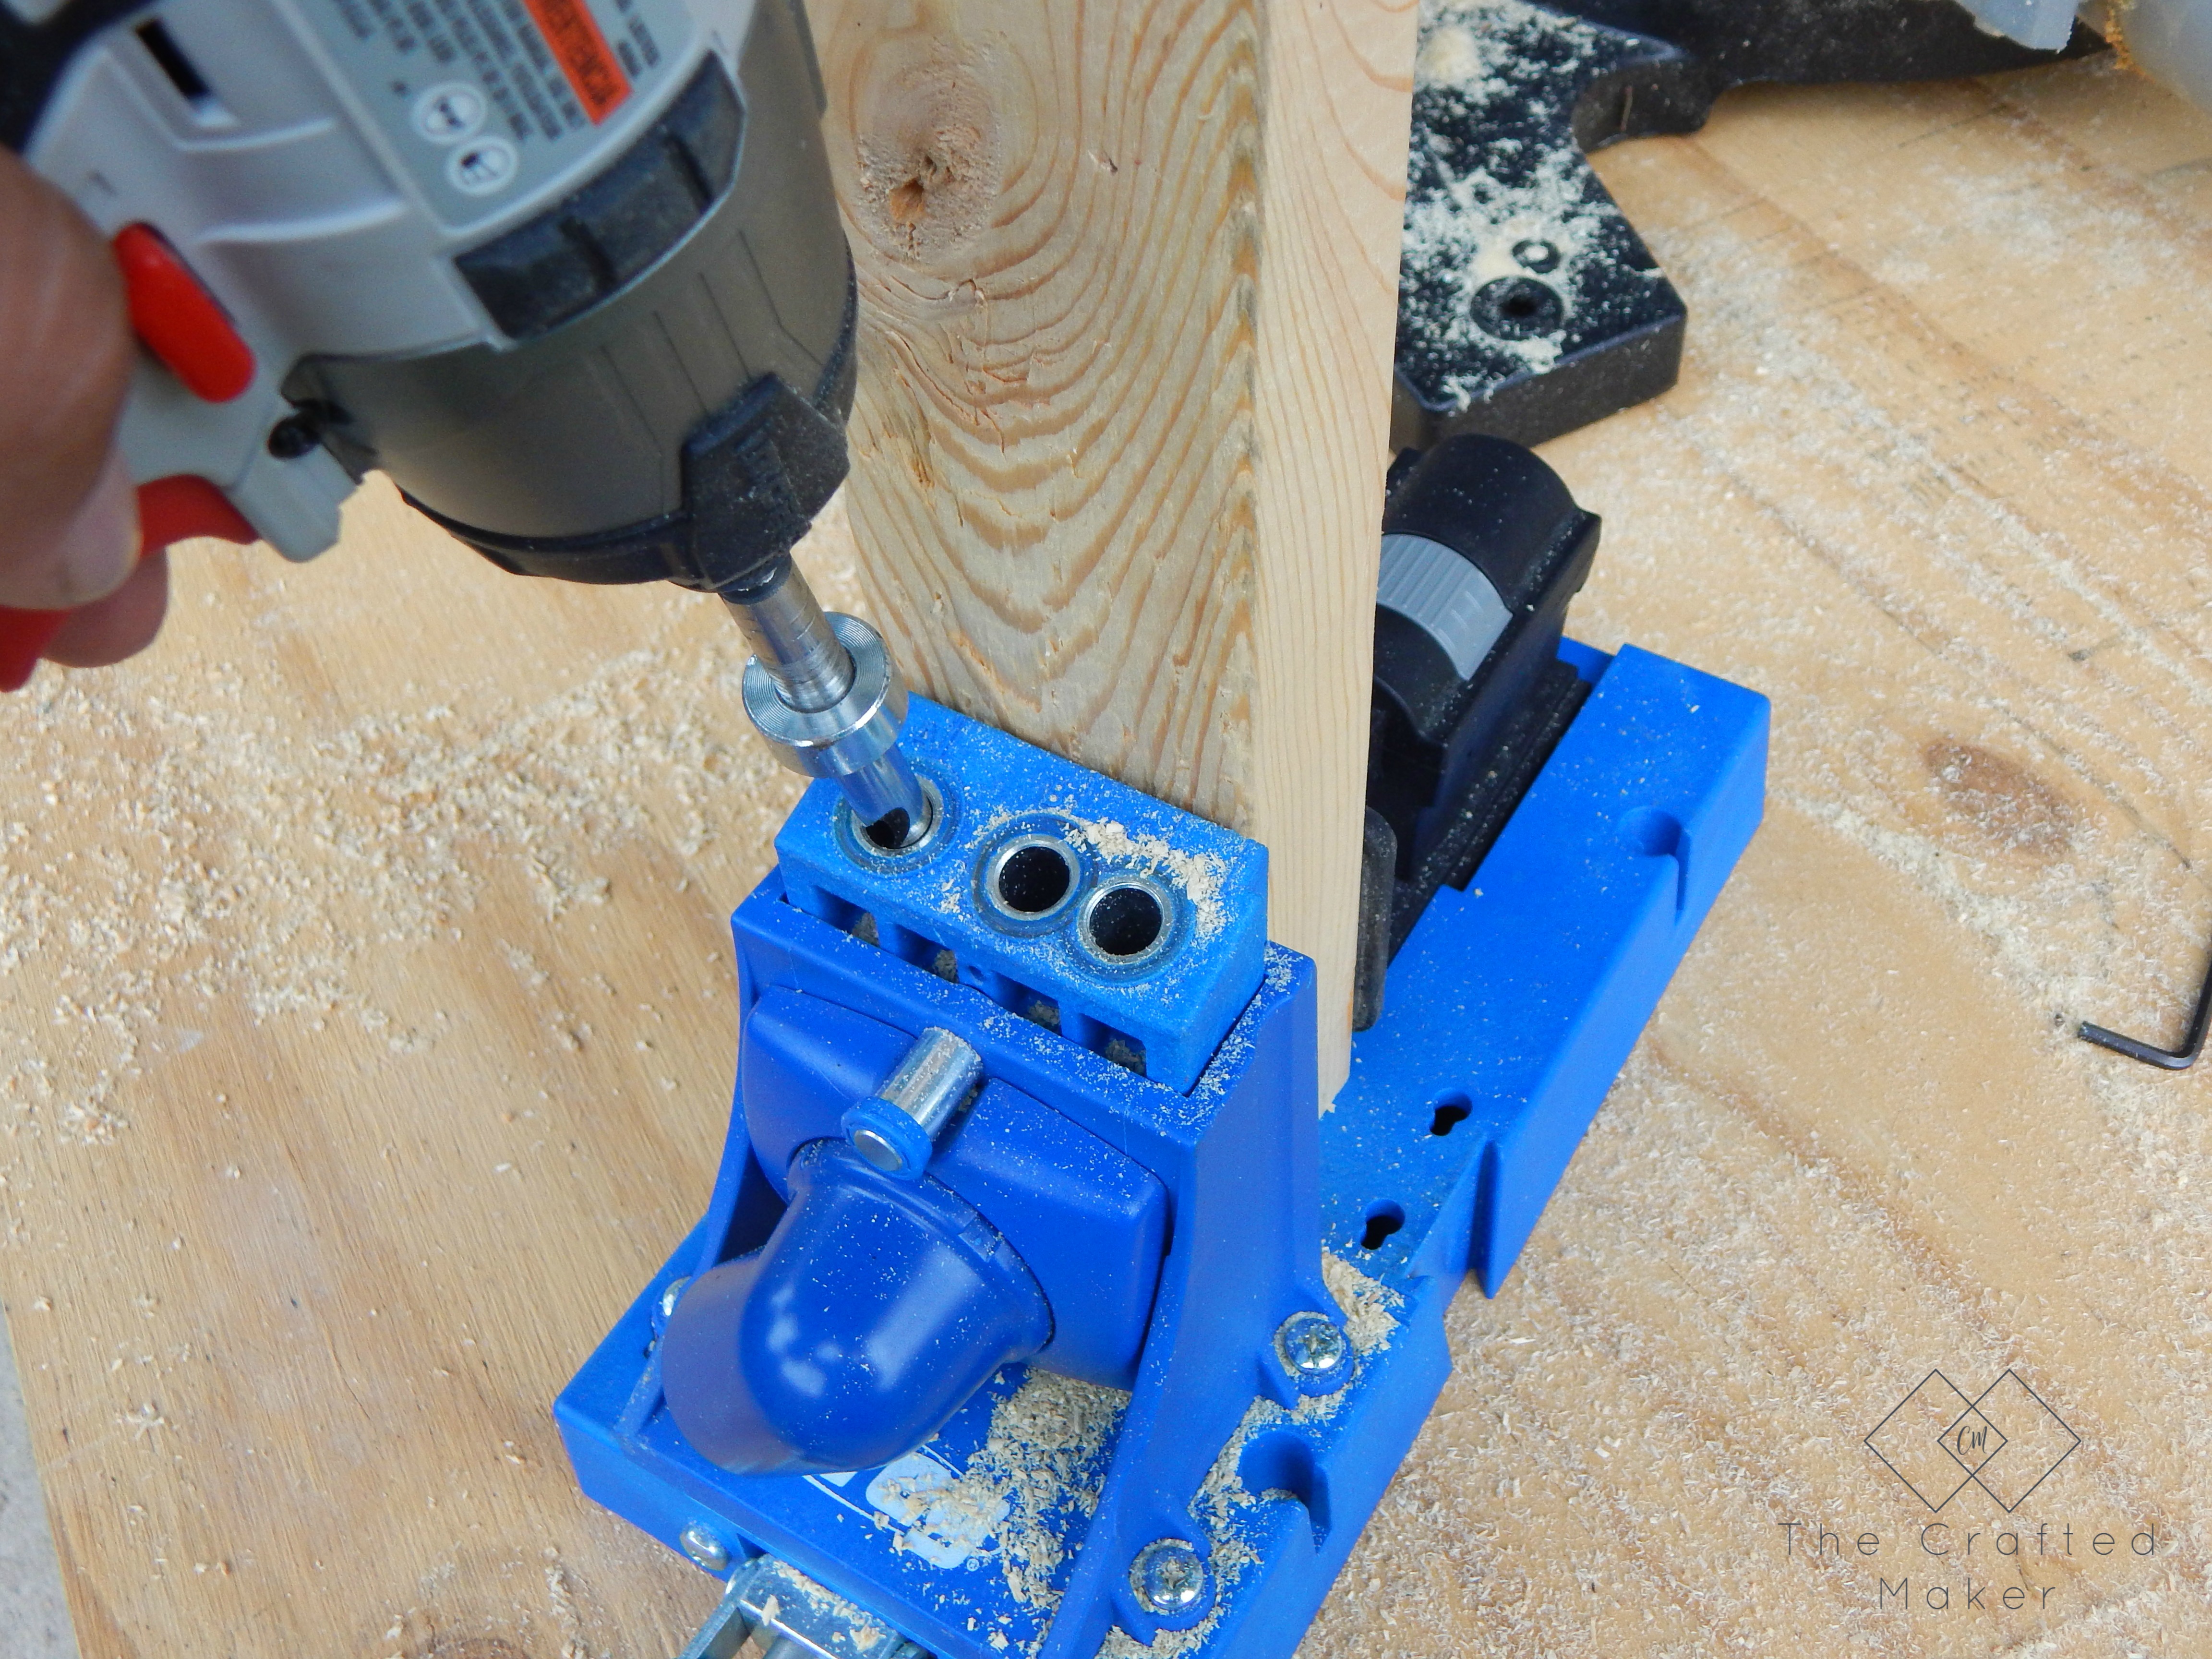
It’s now time to start assembly.

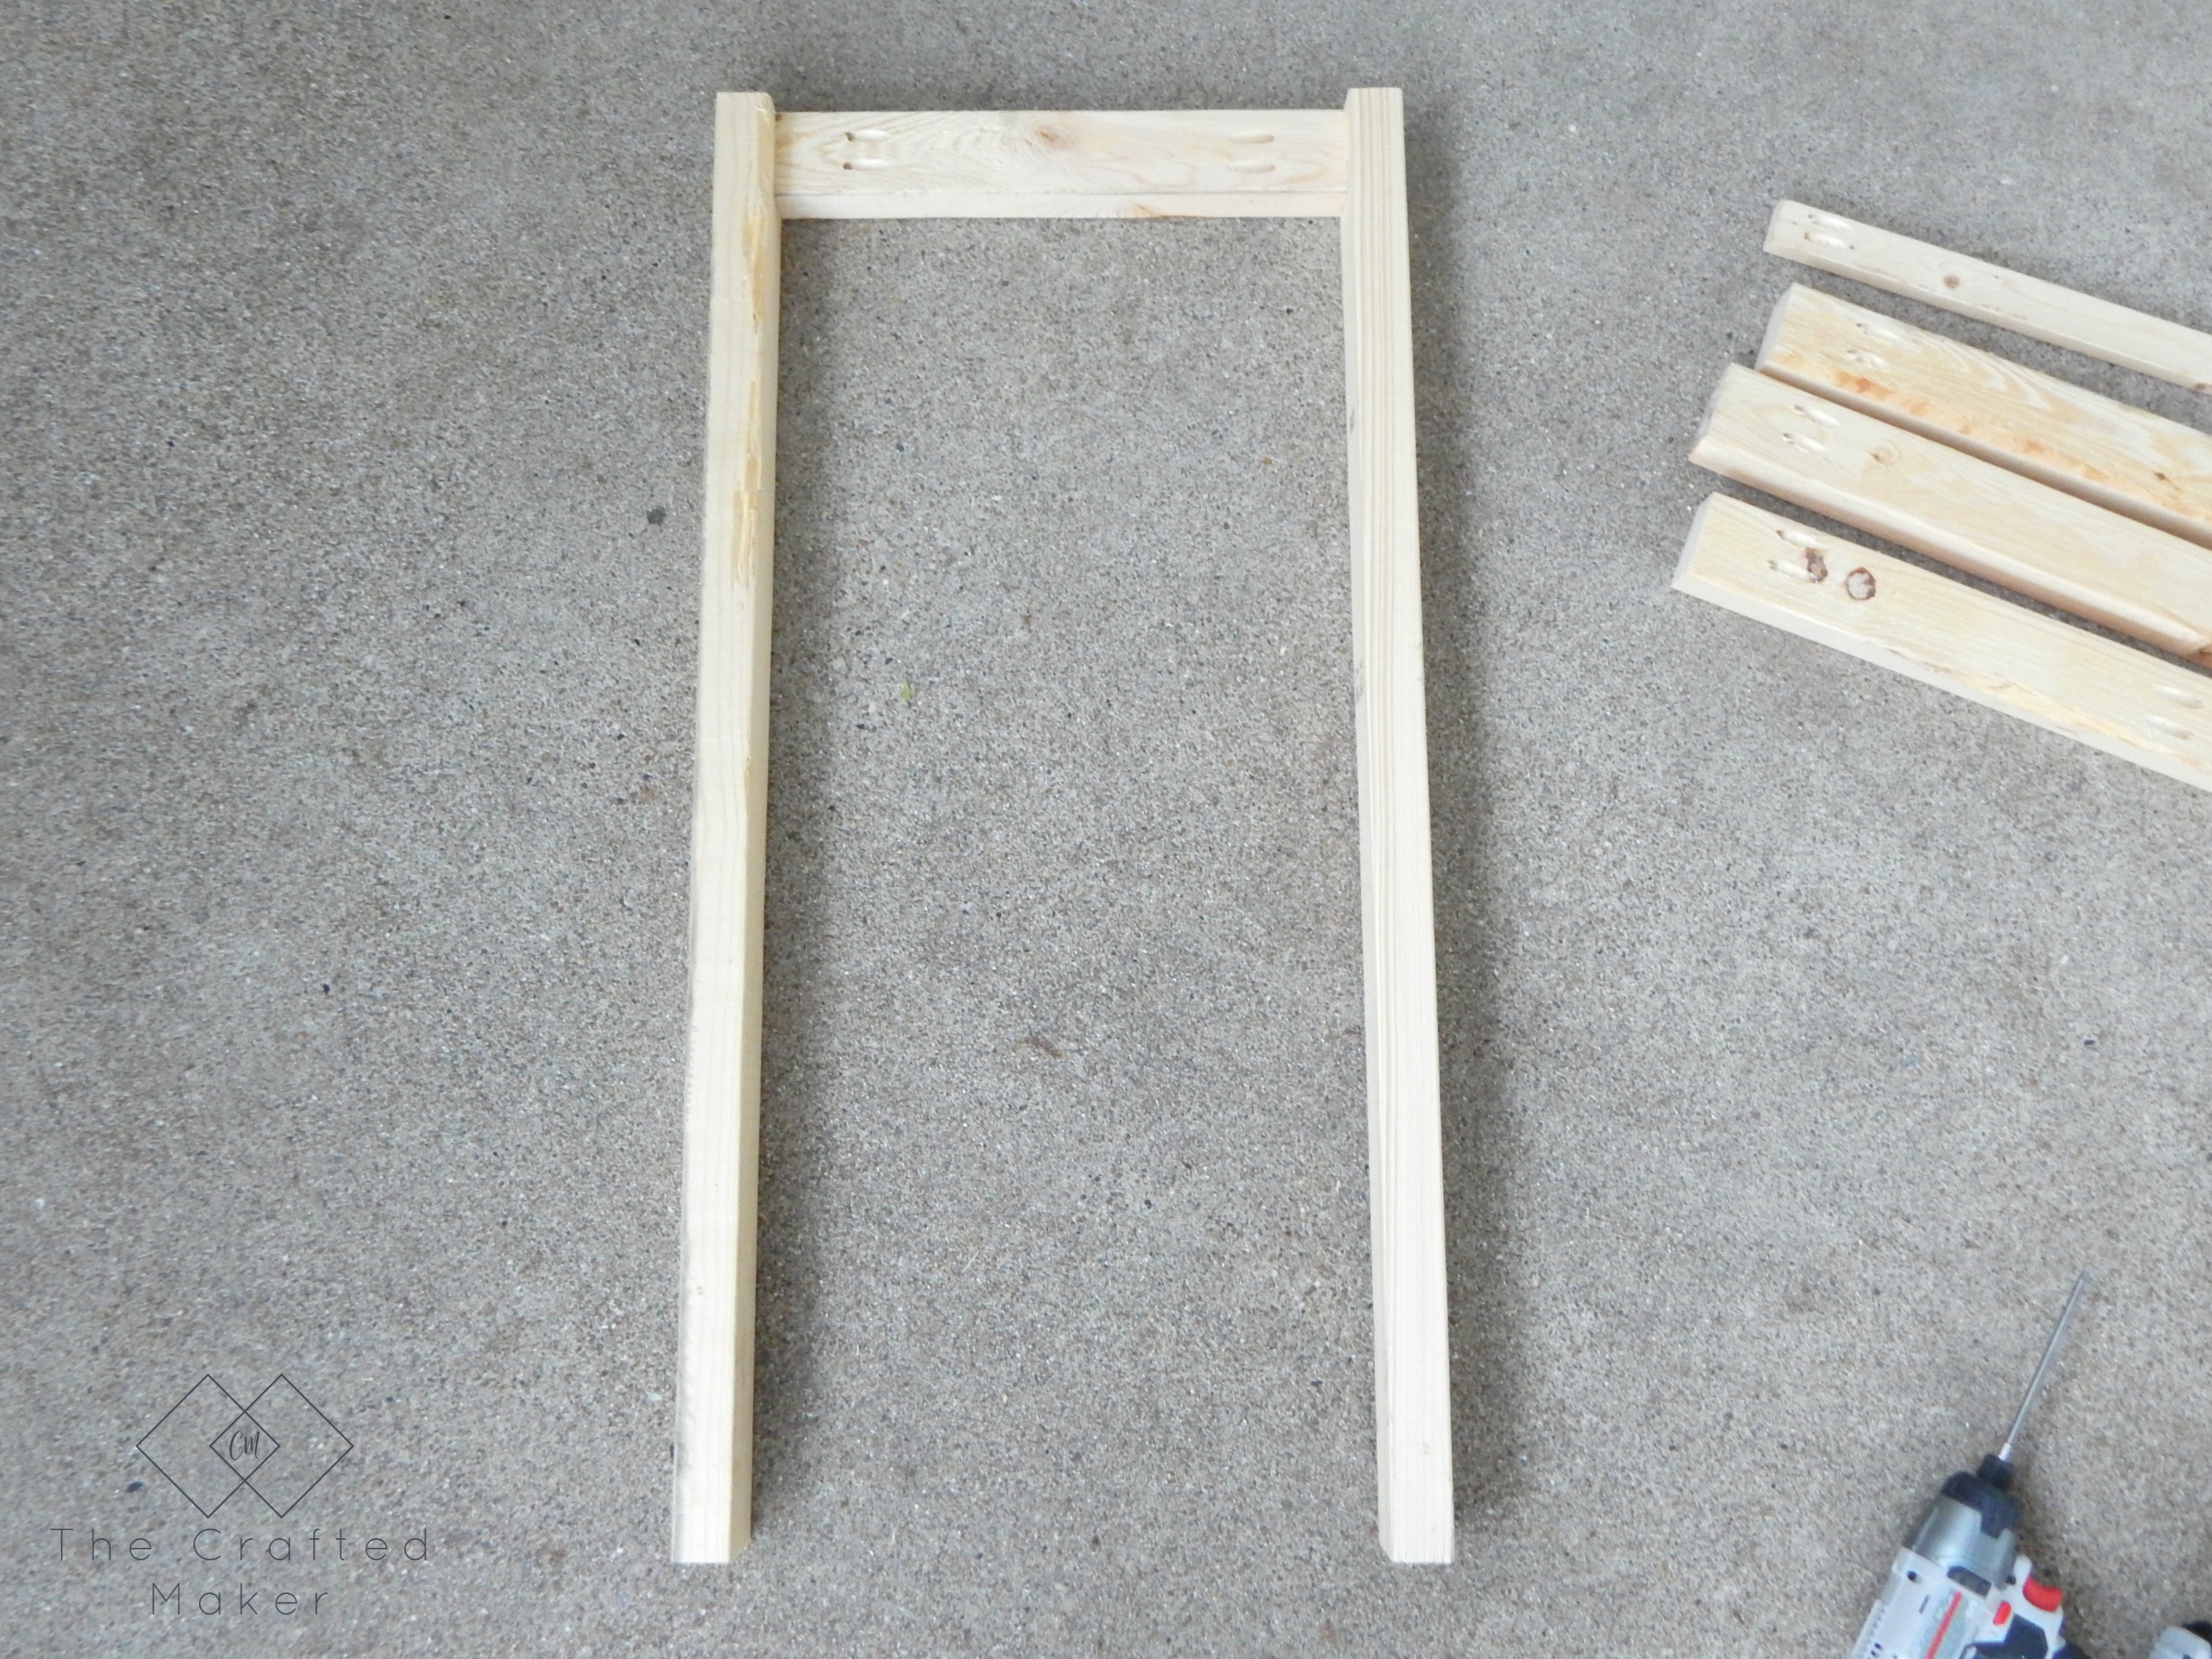
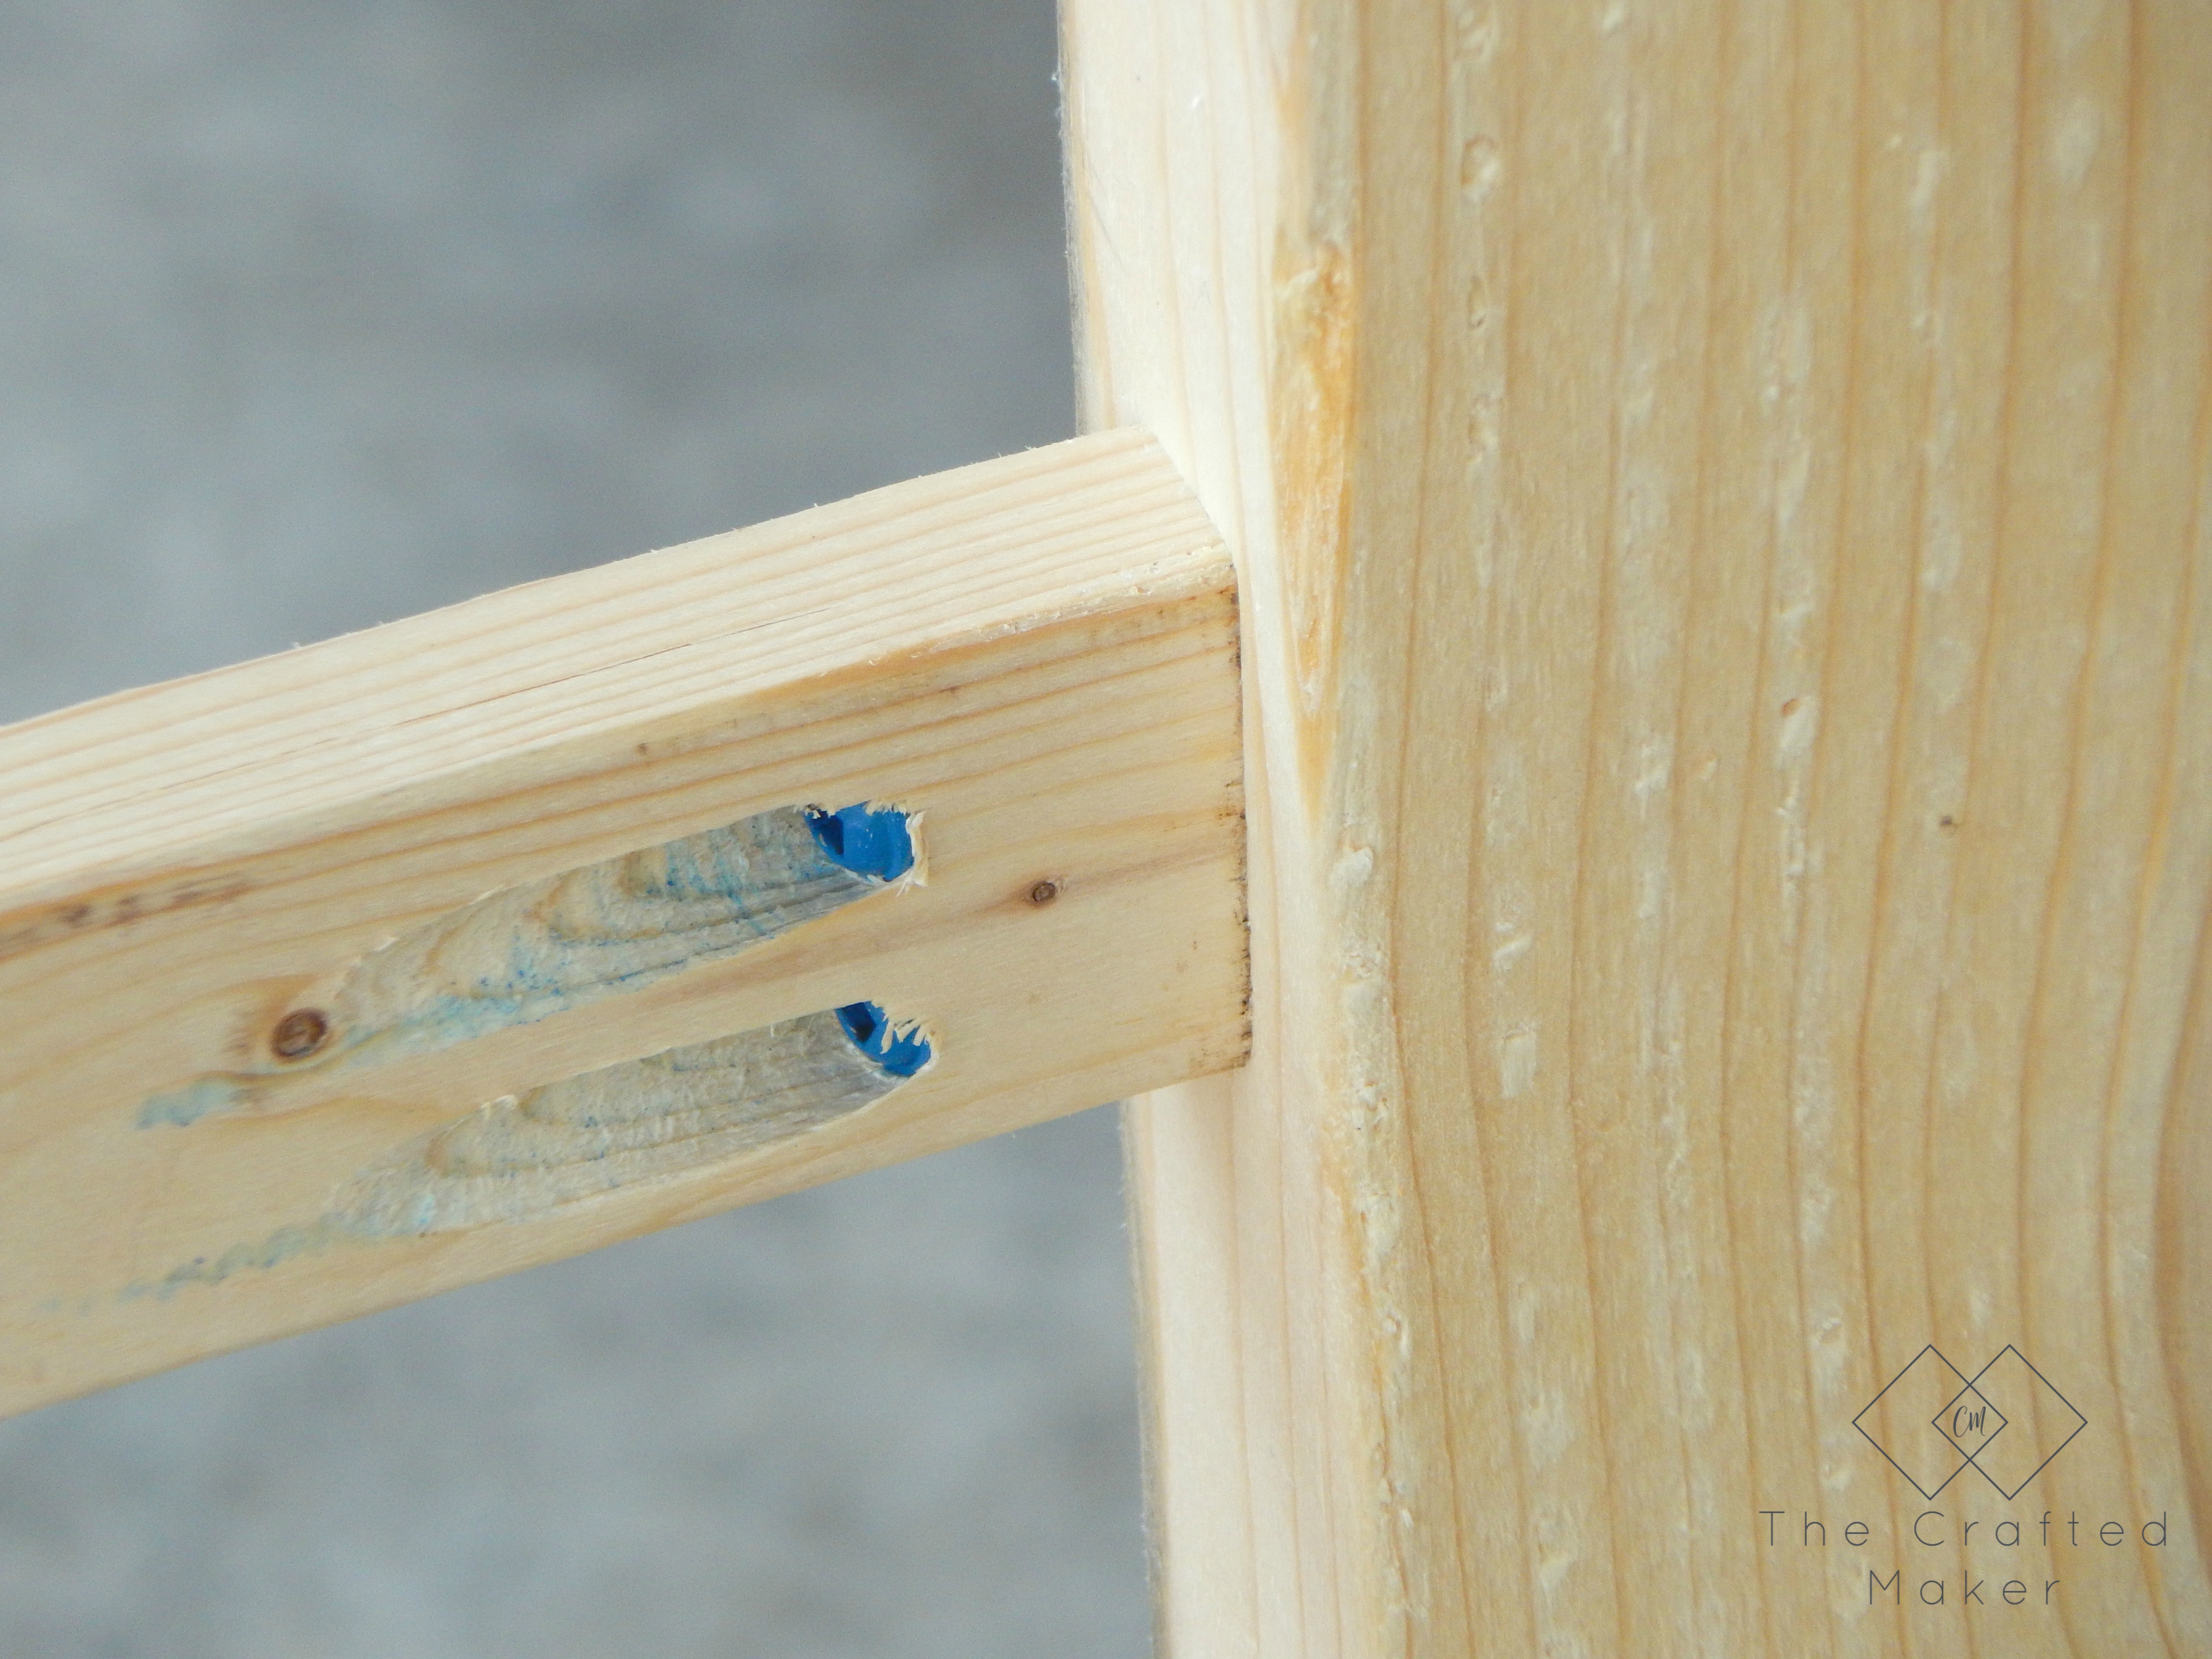
Two of the 32″ legs will be connected, using pocket hole screws, by one of the 13″ boards in the middle. I made two of the leg units.

Laundry is a chore many people don't enjoy doing, so why not make it as fun and convenient as possible. How about a colorful place to fold and iron!

Laundry is a chore many people don't enjoy doing, so why not make it as fun and convenient as possible. How about a colorful place to fold and iron!

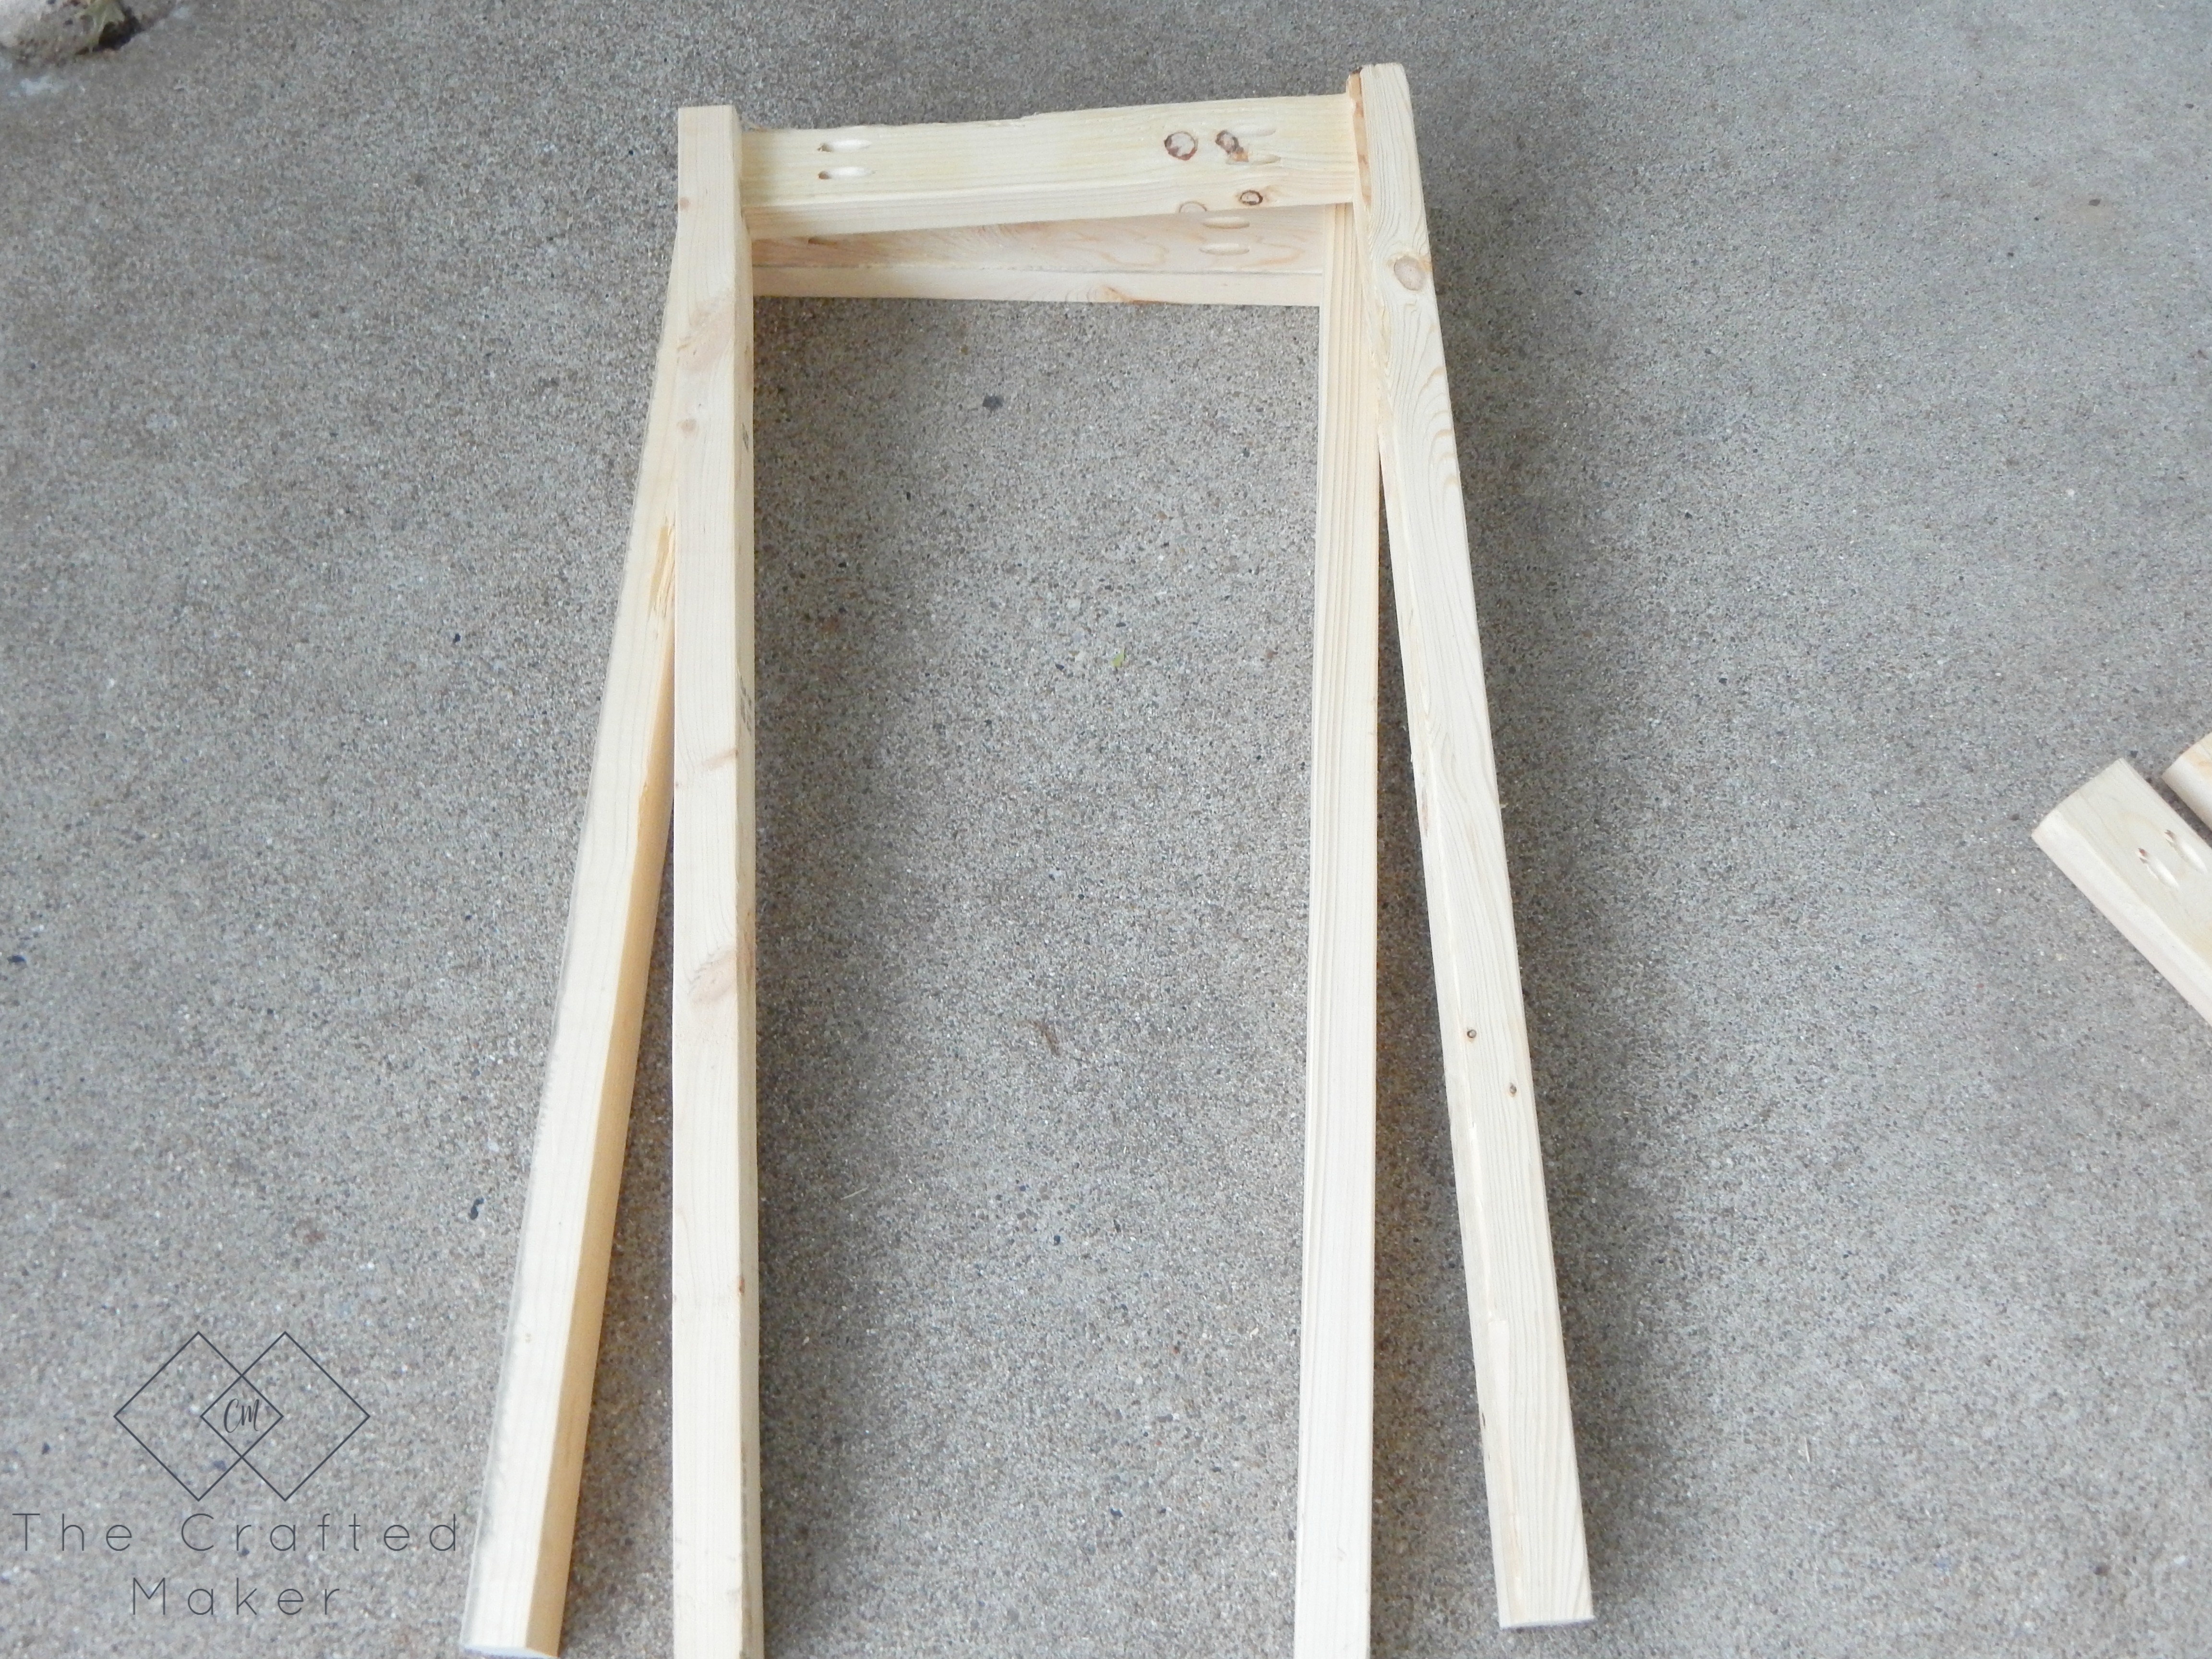
Now it’s time to make these a standing unit! I attached these together by placing 31″ boards between the leg units at the very top.

Laundry is a chore many people don't enjoy doing, so why not make it as fun and convenient as possible. How about a colorful place to fold and iron!

Laundry is a chore many people don't enjoy doing, so why not make it as fun and convenient as possible. How about a colorful place to fold and iron!

I designed this table to accommodate for clothes hampers to fit underneath and out of the way. This is a handy feature, but it made the height of the table rather tall. To make up for that, I added a middle support to the table so it was extra sturdy. I placed a 1″ x 2″ board between the back legs and attached it with pocket hole screws. Because this will be sitting against a wall, I placed the pocket holes in the back which saves a step when painting or staining the project.

Laundry is a chore many people don't enjoy doing, so why not make it as fun and convenient as possible. How about a colorful place to fold and iron!

Laundry is a chore many people don't enjoy doing, so why not make it as fun and convenient as possible. How about a colorful place to fold and iron!

I sanded my project completely before applying a finish. I usually stain my projects, but I decided to give this one a couple of coats of white paint. While the paint was drying, I started on the top of the laundry table.

Assembling the Top

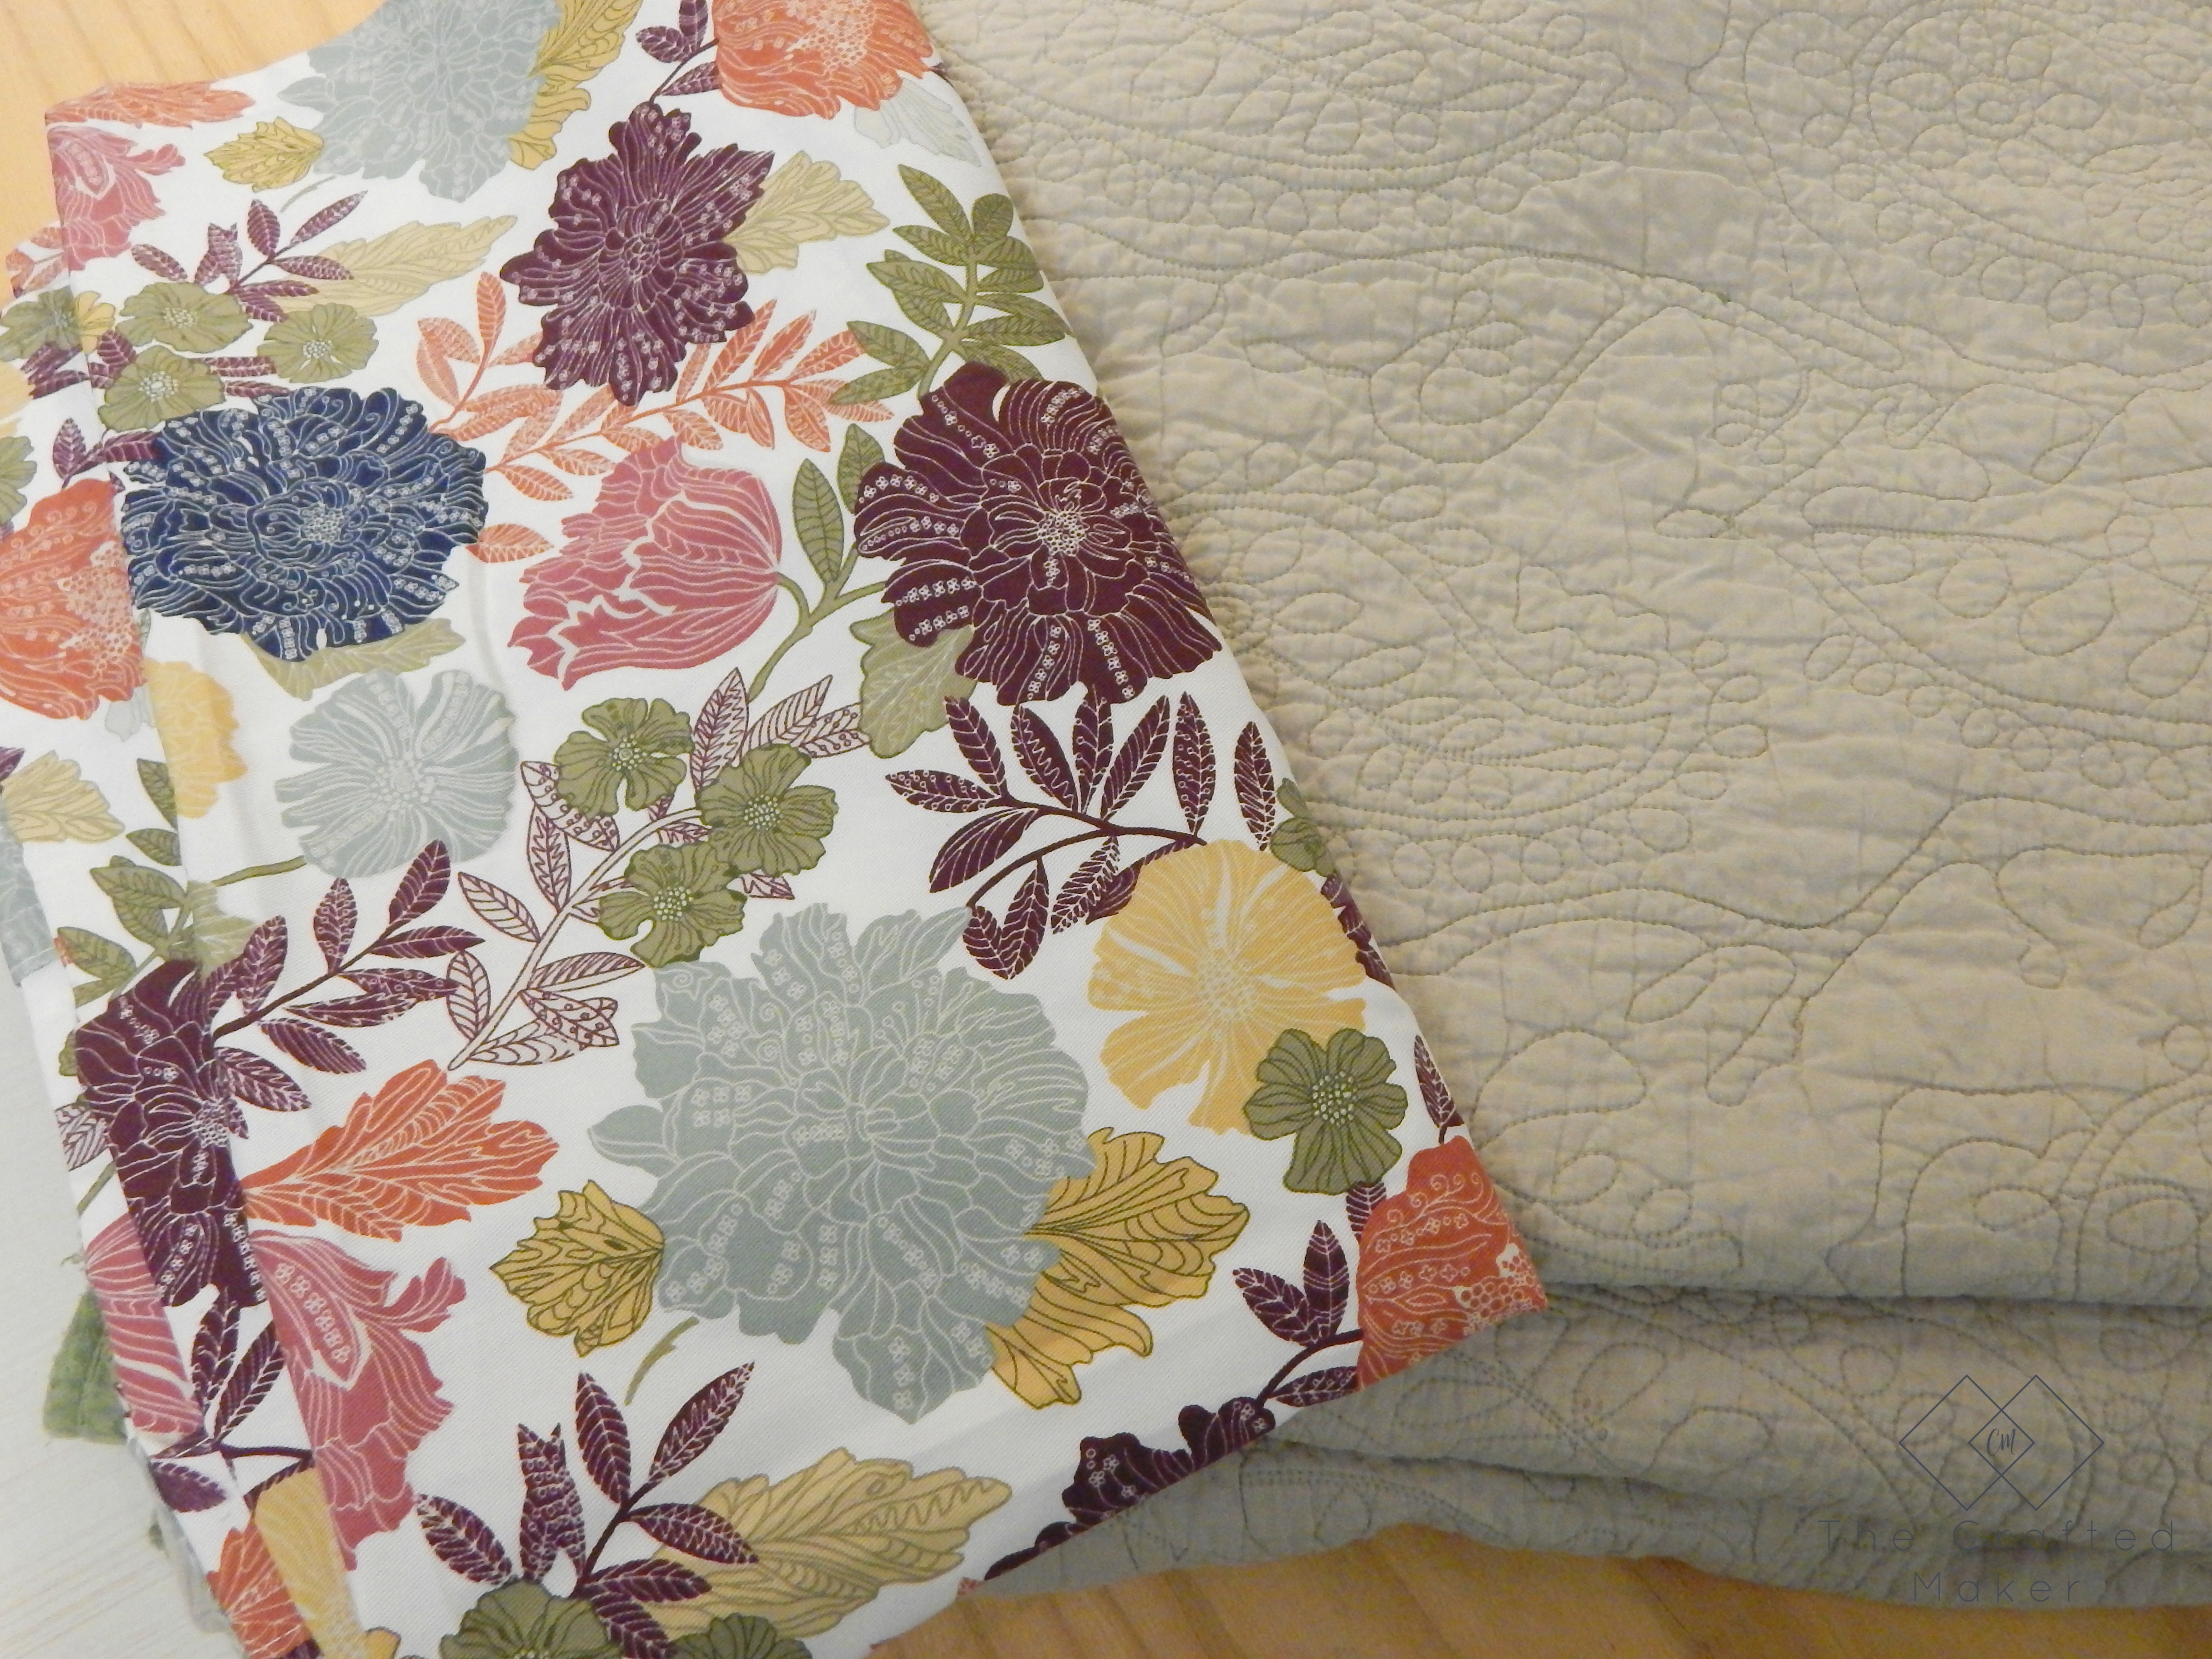
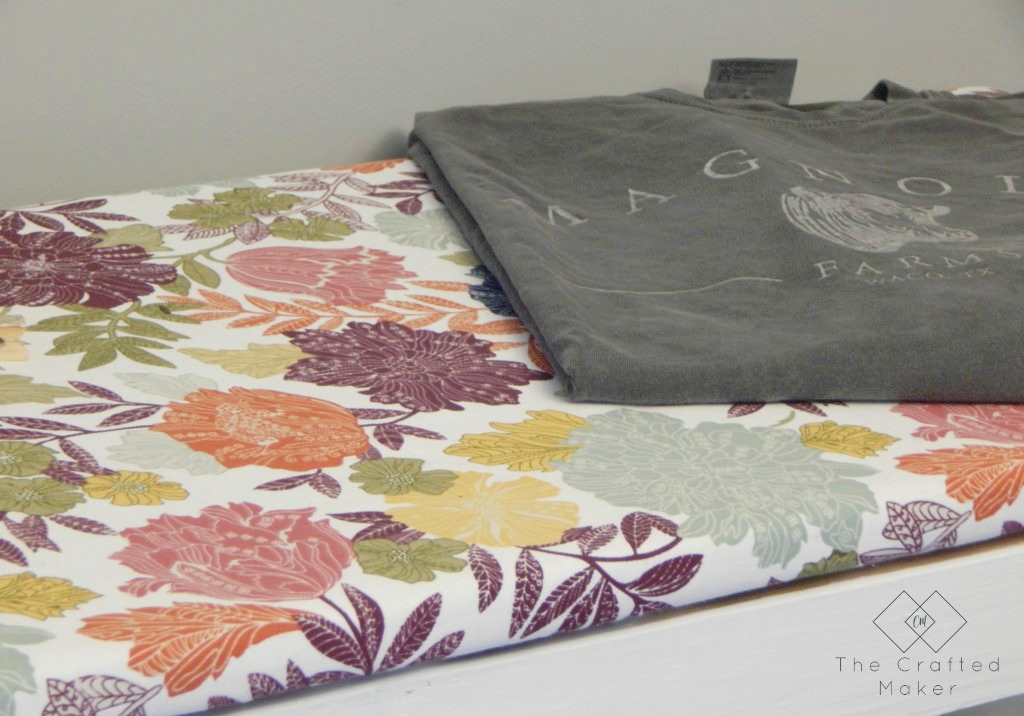
I had an old blanket to use for backing and a curtain I recently changed out for the top fabric.

Laundry is a chore many people don't enjoy doing, so why not make it as fun and convenient as possible. How about a colorful place to fold and iron!

I placed the backing on my work surface and placed the 3/4″ plywood on top of that. I cut out the backing leaving 2″ extra around the whole board.

Laundry is a chore many people don't enjoy doing, so why not make it as fun and convenient as possible. How about a colorful place to fold and iron!

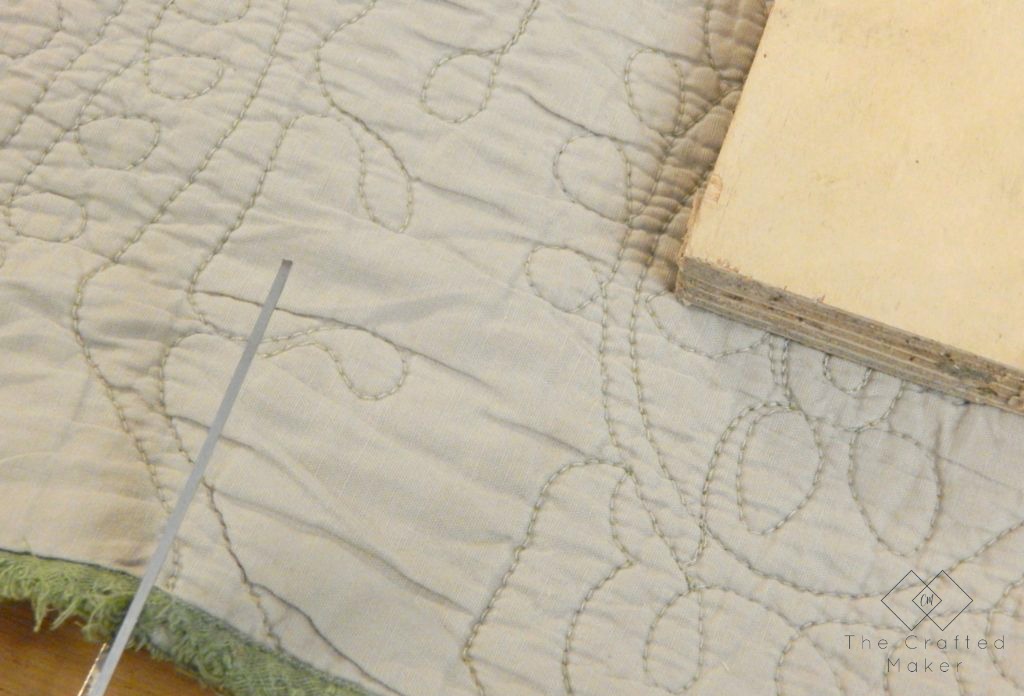
Wrap your backing over the plywood, pulling slightly to get out any wrinkles, and staple around the board.

Laundry is a chore many people don't enjoy doing, so why not make it as fun and convenient as possible. How about a colorful place to fold and iron!

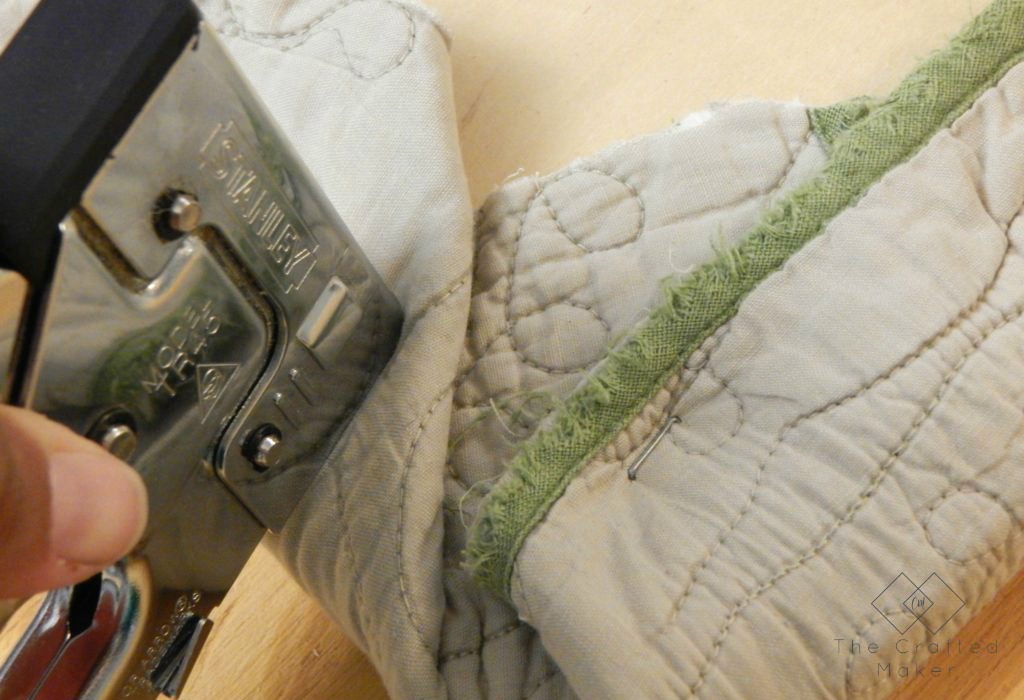
The picture below is what it will look like when all of the staples are in place. Not too tight and not too many wrinkles.

Laundry is a chore many people don't enjoy doing, so why not make it as fun and convenient as possible. How about a colorful place to fold and iron!

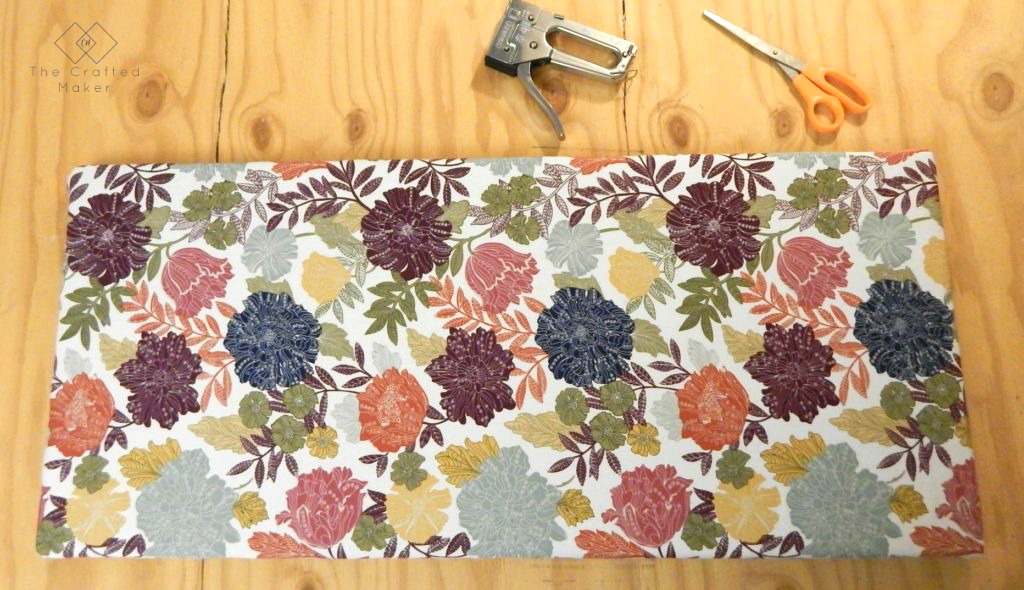
Repeat these steps for the fabric on top.

Laundry is a chore many people don't enjoy doing, so why not make it as fun and convenient as possible. How about a colorful place to fold and iron!

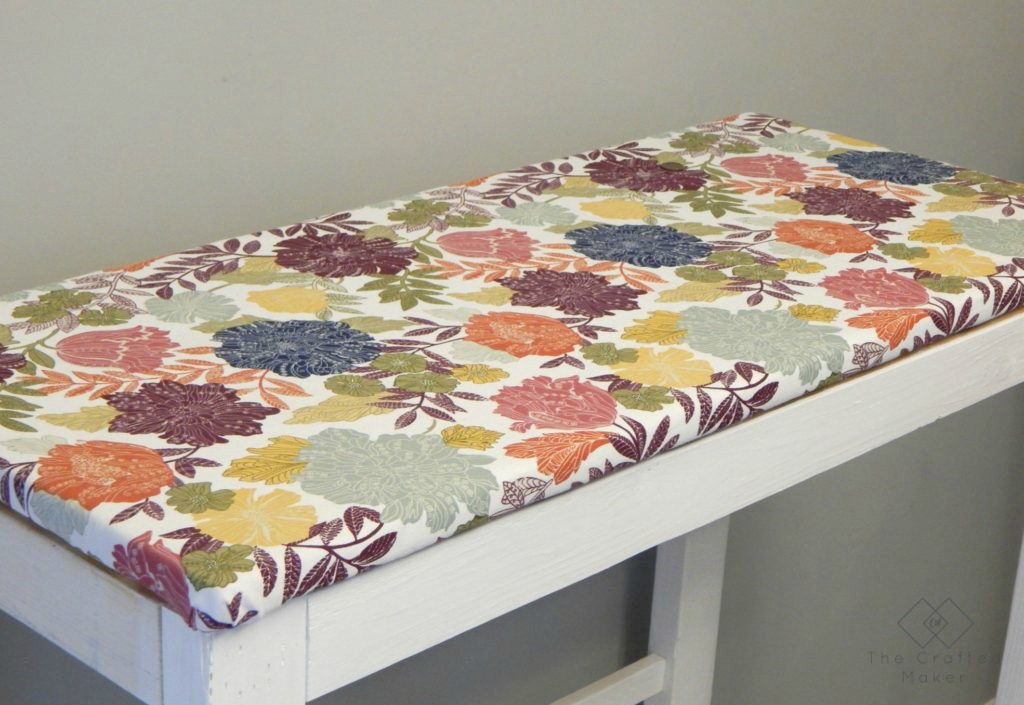
I attached the top to the body of the table by using pocket hole screws. The table is now ready for use. No ugly ironing board getting in the way and a bonus space to fold laundry!Laundry is a chore many people don't enjoy doing, so why not make it as fun and convenient as possible. How about a colorful place to fold and iron!

Laundry is a chore many people don't enjoy doing, so why not make it as fun and convenient as possible. How about a colorful place to fold and iron!

Laundry is a chore many people don't enjoy doing, so why not make it as fun and convenient as possible. How about a colorful place to fold and iron!


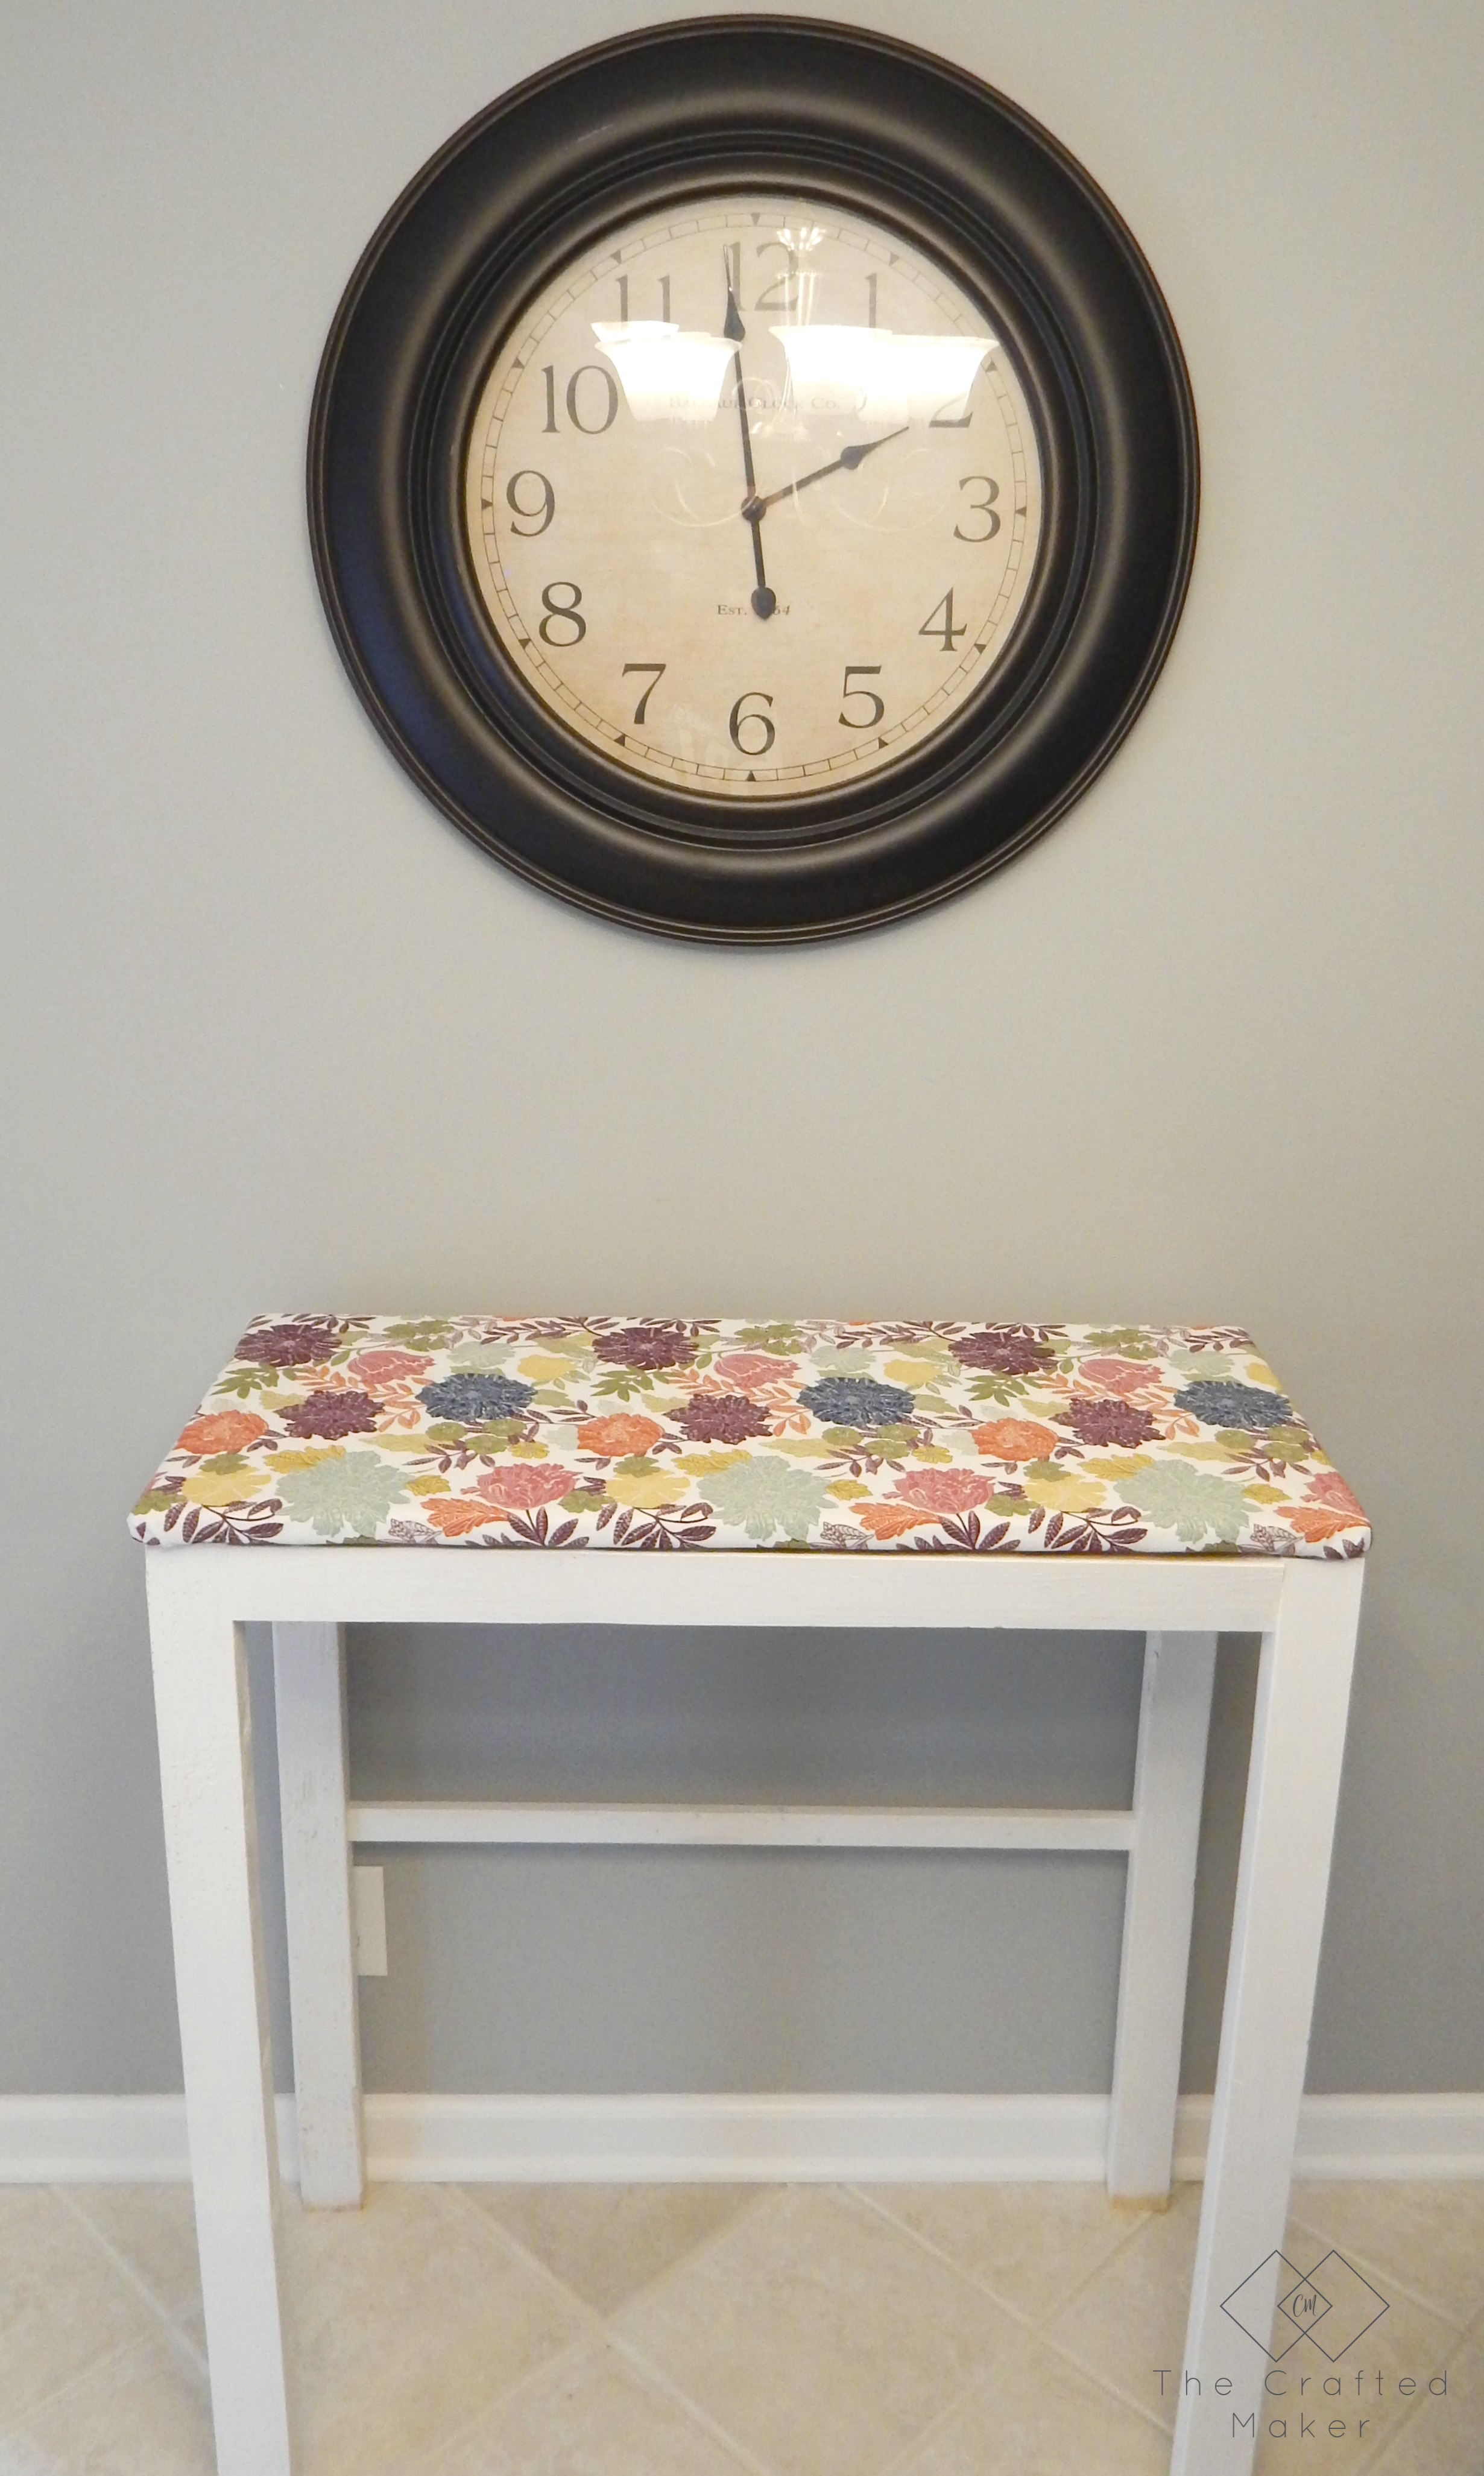
Pinning is always appreciated!

Laundry is a chore many people don't enjoy doing, so why not make it as fun and convenient as possible. How about a colorful place to fold and iron!


I hoped you enjoyed this project. I’ll be back soon for more house revamp projects. Until next time…


Posted In: BUILD, FREE PLANS!, FURNITURE · Tagged: furniture, laundry

You’ll Also Love

Give your living room some new life with this DIY Modern Farmhouse Coffee Table. Free PDF plans included along with step by step instructions and pictures!DIY Modern Farmhouse Coffee Table
Build this modern farmhouse dining table for your next gathering. This table is perfect for smaller dining rooms or breakfast nooks.Modern Farmhouse Dining Table
If you love using hardware to really give furniture character, check out this DIY Entertainment Stand. Free Plans on my site!!DIY ENTERTAINMENT STAND
Next Post >

PAINT A BRICK HOME – HOW TO

Hi, I’m Crissie!

Hello and welcome! I’m Crissie, the girl behind The Crafted Maker. This is my journey of DIY living where new skills are being learned, developed, and crafted one project at a time.

Join me as I tackle the renovation of my Washington house and build some stuff along the way.

Follow Along!

  • Facebook
  • Instagram
  • Pinterest
  • Twitter

SEARCH THE BLOG

Join TCM Tribe!

If you want to keep in touch with us, this is the best way to do it! Just sign up below and receive all our posts in your inbox!


Free Project Planner!

  • About
  • Contact
  • Privacy Policy


Trending Now

  • 25 Dollar Console Table - The Crafted Maker $25 Console Table with Free Plans!
  • FIVE DOLLAR WINDOW BOX
  • Give the exterior of your home an upgrade with these simple DIY shutters. They take very little time to make and will add curb appeal to your home. SIMPLE DIY SHUTTERS
  • Make this DIY Napkin Holder with scrap wood and a few tools. Add some convenience to your dining table setting in about an hour. DIY Napkin Holder
Next project in the works!! 👏🙌🛠 #diy #cof Next project in the works!! 👏🙌🛠 #diy #coffeetable #makercommunity #hairpinlegs
If you are in the need of a bigger work space but If you are in the need of a bigger work space but don’t have the room for a 4’ x 4’ workbench, I have you covered!! Introducing the convertible 4’x4’ workbench. You can leave it attached together for larger projects, or pull it apart for storage against a wall. 🙌💪🛠😀
Plans available on @sprucd today!!
Need a little office organization in your life? Yo Need a little office organization in your life? You can whip up this little project in about an hour with scrap wood you have laying around! 🙌
Happy Tuesday! Today I'm talking all about privacy Happy Tuesday! Today I'm talking all about privacy fence repair on the blog. Fixing a fence is easier than it looks and if you do it yourself, you can save thousands of dollars! 👏💪🛠🙌
Swipe to see what the fence looked like before!
Nothing like a little (or a lot) of yard work on a Nothing like a little (or a lot) of yard work on a Sunday. If you have seen my stories over the past couple of days, you know how much mulch we had to use up. It is a lot!! We are nowhere near done yet, but we got a pretty good dent put into the landscaping projects for the front yard. 
I know it may seem like I move from one project to another on here randomly. One minute I’m fixing a bathroom, then a fence, then landscaping, all while my bathroom is still not done. This is for a reason I promise. 😛

When you live in an area in Washington like I do, you do outdoor projects when the sky tells you that you can. The weather changes around here on the daily and this time of the year, rain is always there just waiting! LOL Trust me, I wish I could get one done before moving on, easier to plan that way! 
What did you guys and gals work on this weekend. Someone give me some good build stories. I always want to be in the shop when working on other projects. Let me live woodworking projects through you all. 😂
Fall is here and now is the time for crisp air and Fall is here and now is the time for crisp air and squirrels scavenging for their winter treats. I wanted a way to let some of that air in the house, so I figured why not make a DIY squirrel doorstop. 🐿🚪🛑
If you need a quick and easy Fall 🍁 project, go to the blog and check it out. It will be the latest Scrappy Saturday project! 🛠
If there is a certain project you want me to build for a Scrappy Saturday, just let me know in the comments below. I love to hear what you all want to build!! Isn't he just so darn cute!! 🐿

Copyright © 2021 The Crafted Maker · Theme by 17th Avenue